

Last updated 19 August 2026 by Sammie O, owner of Bud Car Wash in Ras Al Khor Industrial Area 2, Dubai.
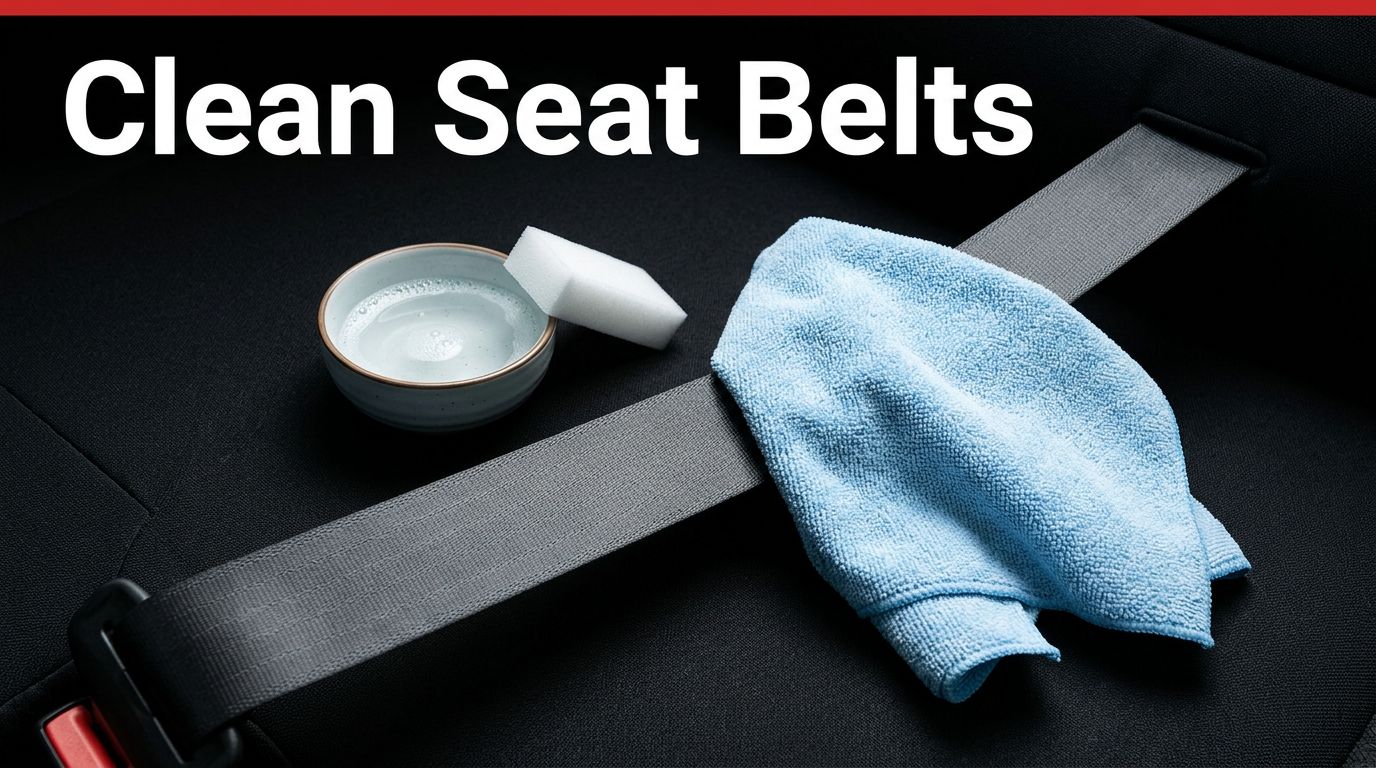
Seat belts collect dust, body oils, food residue, and drink stains during everyday driving. Learning how to clean car seat belts safely keeps the interior fresher without weakening the webbing.
Seat belts are safety-critical restraint components, not ordinary interior fabric. The correct method uses mild soap, limited moisture, gentle wiping, and complete air drying. Start with an inspection before you clean.
Check the Seat Belt Before Cleaning
A clean appearance doesn’t confirm that a belt is safe. Look closely at the full length of the webbing, including the section near the buckle and the part that disappears into the shoulder anchor.
Inspect for damage
Stop cleaning if you find:
- Frayed edges or pulled threads
- Cuts, tears, or thin areas
- Burn marks, melted sections, or stiff patches
- Damaged stitching
- A buckle that doesn’t latch or release correctly
- Webbing that twists, binds, or fails to retract
Cleaning cannot restore a compromised belt. Don’t sew it, trim loose threads, dye it, add a cover, or apply a repair product. A damaged restraint needs inspection and possible replacement by a qualified technician.
The NHTSA safety belt maintenance instructions advise replacing belts when the webbing, bindings, buckles, or retractors show damage.
Check the vehicle manual
Cleaning guidance can vary by vehicle. Read the interior care and seat belt sections in your owner’s manual before applying any product.
Toyota manuals recommend mild soap and lukewarm water, while warning against bleach, dye, and abrasive cleaners. You can review the Toyota seat belt precautions for an example of manufacturer guidance.
How to Clean Car Seat Belts Safely
The safest approach is controlled surface cleaning. Avoid soaking the belt or allowing liquid to reach the retractor mechanism inside the pillar.
Prepare a gentle cleaning solution
Park the vehicle in a shaded, well-ventilated place. Keep the doors open when practical, and make sure the belt can dry fully before the vehicle is used.
Prepare:
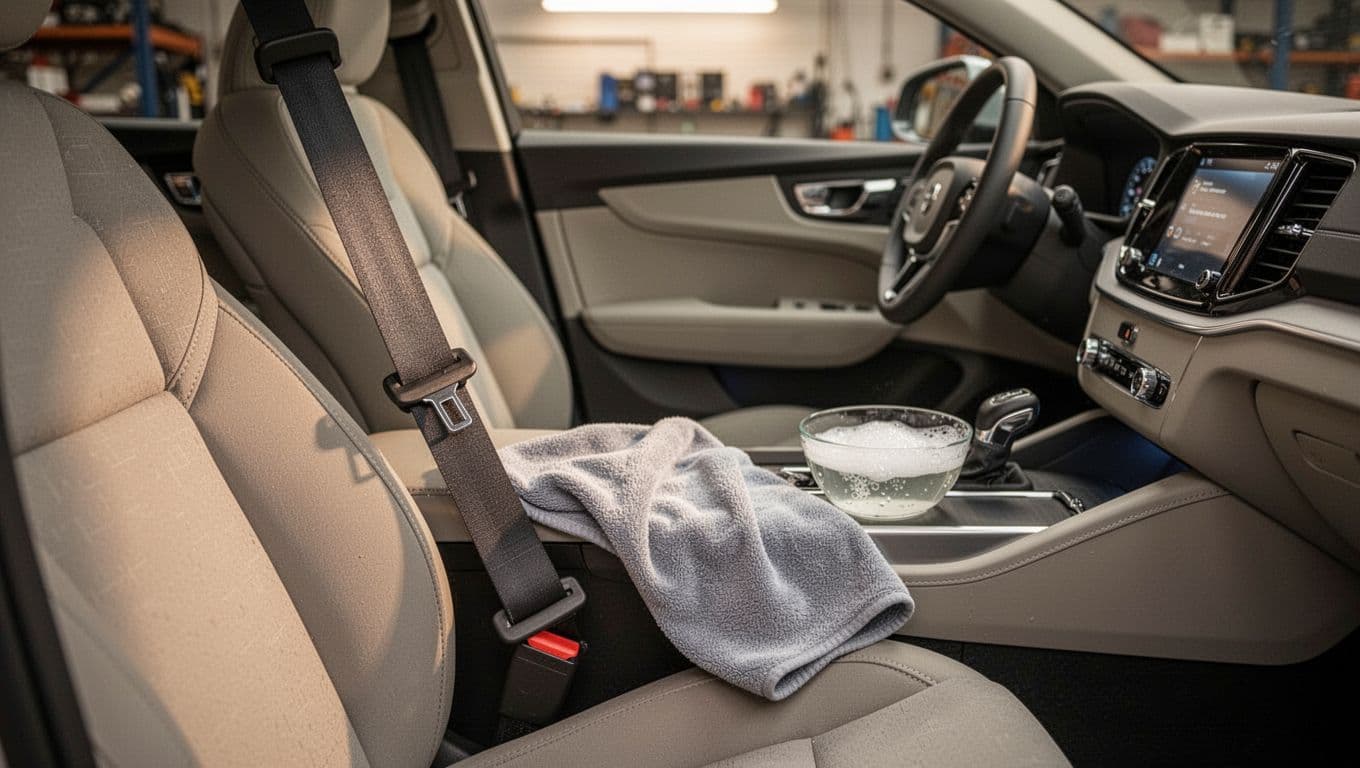
- Lukewarm water
- A few drops of mild soap
- A clean microfiber cloth or soft sponge
- A second cloth for removing residue
Don’t use bleach, dye, abrasive powders, strong solvents, or harsh stain removers. These products can change the webbing’s surface or weaken its fibers. Ford’s official seat belt cleaning guidance also warns against cleaning solvents, bleach, and dye.
Dip the cloth into the solution, then wring it out well. The cloth should be damp, not dripping. Never spray cleaner directly onto the belt, buckle, anchor, or retractor opening.
Wipe the webbing in small sections
Pull the belt out slowly without twisting it. If it won’t stay extended, work on one reachable section at a time instead of forcing the retractor.
Wipe both sides with light pressure. Move along the webbing in straight passes, then repeat on areas with visible residue. A soft sponge can help lift grime, but don’t use a stiff brush or abrasive pad.
For a stubborn mark, make another gentle pass after a minute. Repeated light cleaning is safer than aggressive scrubbing. Keep the belt flat and support it naturally, rather than stretching it tightly or folding it sharply.
Use a separate damp cloth with clean water to remove soap residue. Excess soap can leave the webbing stiff or attract more dirt. Keep moisture away from the retractor housing and the interior trim opening.
Dry the Belt Before It Retracts
Drying is part of the cleaning process, not an optional finishing step. A damp belt should never be used for driving, especially when children or passengers depend on it for protection.
Air-dry the webbing completely
Leave the belt extended in a clean position until it feels dry on both sides. Air movement helps, but avoid heat guns, irons, and high-heat hair dryers. Excessive heat can affect interior materials and the belt’s surface.
Don’t force the belt back into the pillar while it is damp. If the belt retracts before it dries, pull it out again carefully and let it dry in sections.
Check the stitching, edges, and area around the buckle after drying. The webbing should feel normal, without unusual stiffness, stickiness, or rough patches.
Test retraction and latching
Once completely dry, pull the belt out slowly and let it retract under control. It should move smoothly and return without bunching or hanging loose.
Fasten the buckle and confirm that it latches and releases normally. Don’t drive if the belt sticks, retracts slowly, remains loose, or fails to latch. Arrange an inspection with the vehicle manufacturer, dealer, or qualified restraint professional.
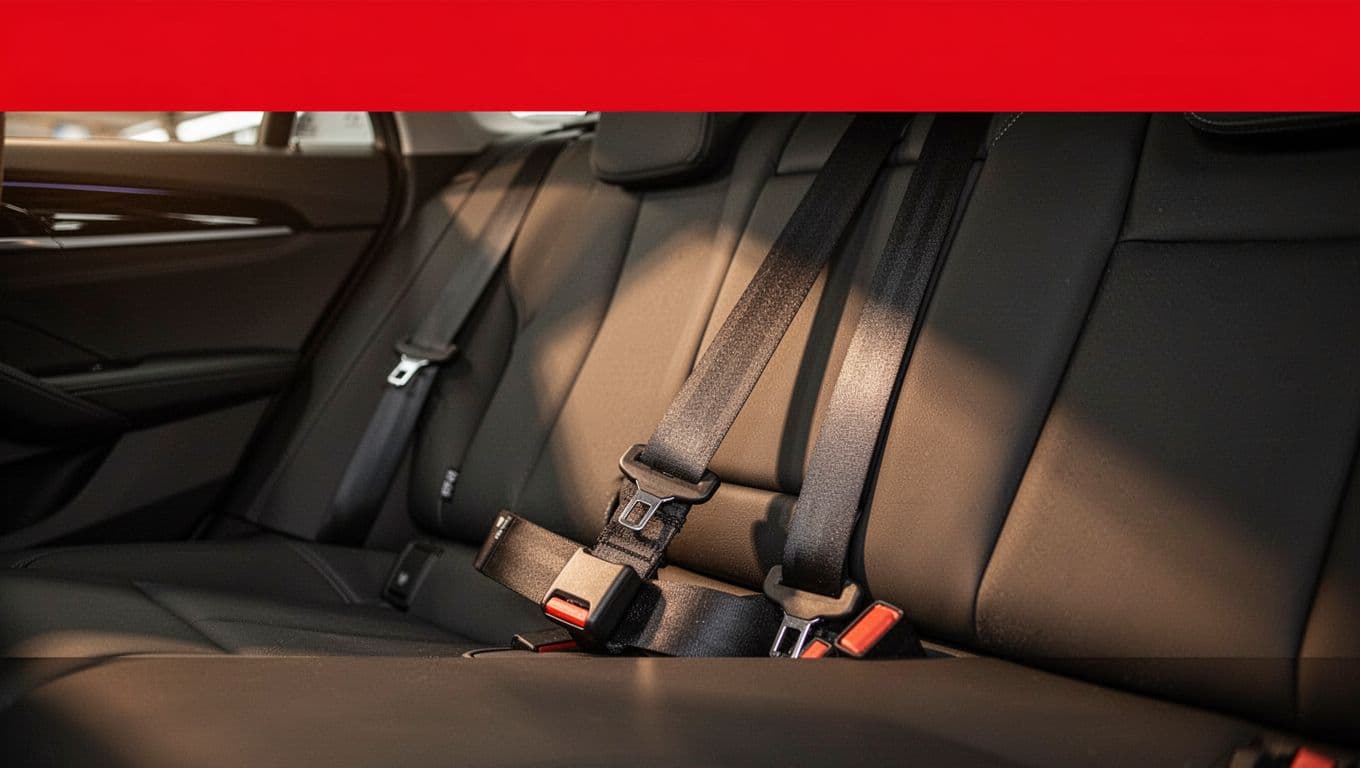
A seat belt can look spotless and still require replacement. Surface cleaning improves appearance, but it cannot repair damaged webbing or internal restraint parts.
When Cleaning Is Not Enough
Cleaning is suitable for surface dirt and ordinary stains. It isn’t a solution for wear, crash damage, chemical exposure, or a faulty retractor.
Replace damaged webbing
If the belt has been cut, frayed, torn, burned, stretched, or involved in a collision, follow the vehicle manufacturer’s replacement guidance. Don’t assume a successful cleaning or retraction test makes it safe again.
Never unbolt, remove, modify, or disassemble a seat belt unless the manufacturer directs the procedure and you have the required technical experience. Restraint systems can include retractors, pretensioners, anchors, and other components that need proper handling.
A qualified technician can identify whether the complete seat belt assembly requires replacement. Use the correct assembly for the vehicle rather than a universal substitute.
Consider professional interior detailing
Heavy food stains, spilled drinks, and buildup near the retractor opening can be difficult to handle without spreading moisture. A professional detailing service can clean the accessible webbing as part of a careful interior treatment.
Ask what products and methods will be used. The service should avoid soaking the belt, spraying into the retractor, or treating the webbing with bleach, dye, or aggressive chemicals. Professional care is most useful when the belt is dirty but still free from cuts, fraying, and mechanical faults.
Keep Your Seat Belts Clean and Safe
The best way to clean car seat belts is also the most controlled: inspect first, use mild soap and lukewarm water, wipe gently, and keep moisture away from the retractor. Allow the webbing to air-dry fully before checking its movement and latch.
If you find damage, stop treating the belt as a cleaning project. Safety comes before appearance, and a compromised restraint must be inspected or replaced rather than restored with household products.

