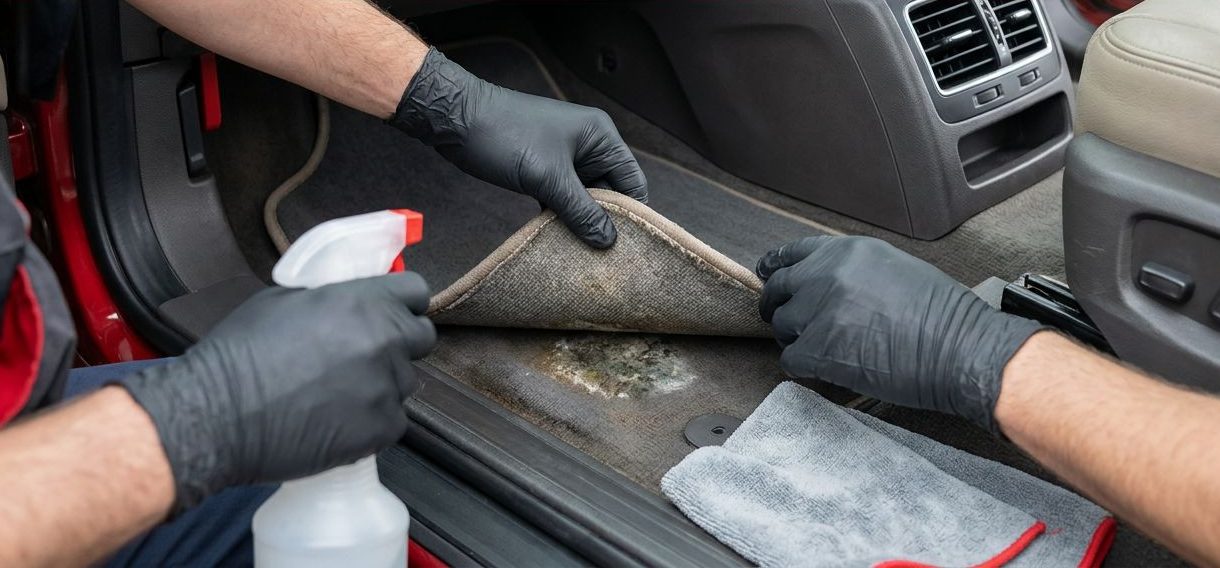

Last updated 19 August 2026 by Sammie O, owner of Bud Car Wash in Ras Al Khor Industrial Area 2, Dubai.
Mold on a car seat or carpet is more than a cleaning issue. If you’ve searched for “remove mold car,” the safest answer isn’t a stronger spray. It is a controlled process that limits exposure, removes moisture, and dries every layer.
A vehicle can look dry while moisture remains under carpet, inside seat foam, or beneath trim. Cleaning visible growth without fixing the leak will usually lead to the same problem again. Start with the moisture source, then prepare the cabin before touching the mold.
Want us to do it instead?
We do interior detailing at our Ras Al Khor bay, 24 hours a day. Fill this in and we reply with a price and a time. The message writes itself, so you only tap send.
Would rather talk? Call +971 55 168 5050. Someone answers 24 hours.
Before Cleaning, Stop the Moisture Source
Mold needs moisture to grow. Water may enter through a damaged door seal, windshield seal, sunroof drain, blocked floor drain, leaking window, or wet items left inside the vehicle. Air-conditioning condensation can also leave moisture under carpets when drainage is restricted.
Park the vehicle in a dry, covered, well-ventilated area. Remove wet floor mats and inspect the carpet underneath. Check the spare-wheel well and boot area too, since water often collects in hidden sections.
Find where the water is coming from
Look for damp padding, water marks, loose seals, and areas that feel cool or wet. Press the carpet gently with a clean, dry towel. If the towel picks up moisture, the issue needs more than surface cleaning.
Repair the leak or drainage problem before the final cleanup. The EPA guide to mold, moisture, and your home also places moisture control at the centre of mold prevention.
Decide when DIY cleaning should stop
A small patch on a removable mat is different from mold covering multiple seats, carpet sections, and interior panels. Stop and arrange professional help if the mold is widespread, returns after cleaning, or has reached foam, carpet backing, insulation, or other hidden padding.
Persistent odor is another warning. A strong musty smell after the visible surface looks clean often means contamination remains below the upholstery.
How to remove mold car owners find in seats and carpets
A safe “remove mold car” routine follows a clear order: protect people, isolate the work area, clean without spreading contamination, extract moisture, and dry the cabin completely.
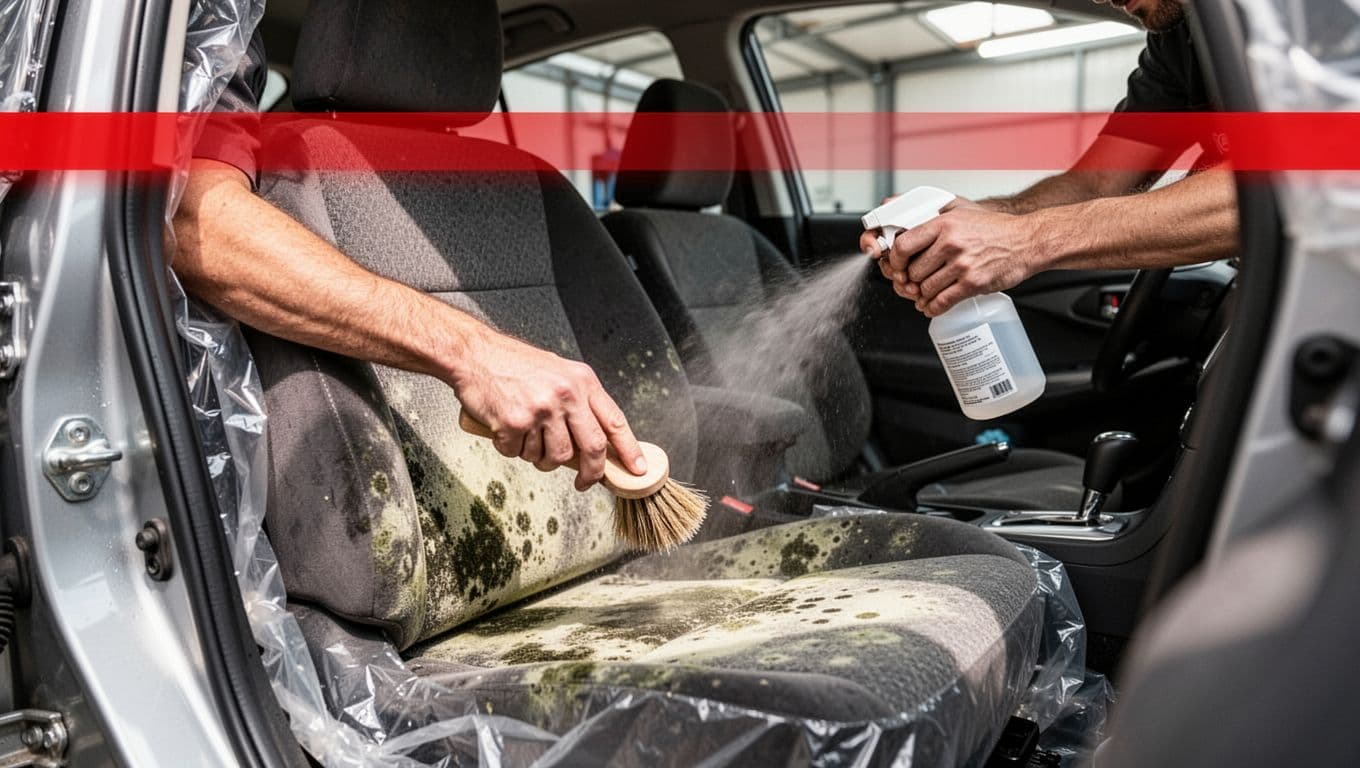
Wear protection and prepare the cabin
Keep children, pets, and anyone with asthma, allergies, immune suppression, or other respiratory concerns away from the vehicle. Open the doors and windows to improve ventilation, but avoid directing contaminated air toward people or neighbouring vehicles.
Wear waterproof gloves, eye protection, and a properly fitted N95 respirator at minimum for a small cleanup. The EPA lists an N95 respirator, gloves, and eye protection as minimum protection for basic mold remediation. Its PPE guidance for mold cleanup provides further detail for larger jobs.
Use disposable coveralls or clothing that can be washed separately. Keep cleaning supplies outside the cabin until needed, and place removed moldy materials directly into sealed plastic bags.
Keep the work controlled
Remove personal items, child seats, and loose mats before cleaning. Don’t shake moldy mats or brush dry growth aggressively, since this can spread particles through the cabin.
Switch off the vehicle’s air-conditioning and ventilation system during the work. If you suspect mold inside the HVAC system, don’t run it until it has been inspected and cleaned.
Clean Fabric Seats and Carpets Carefully
Moldy upholstery is porous, so liquid can travel below the visible surface. The aim is to clean the affected area without soaking the seat or pushing contamination deeper into the padding.
There is no household product that guarantees complete mold removal from every fabric, foam, or carpet backing. Choose a cleaner that is labelled for the material and follow the vehicle or upholstery manufacturer’s care instructions.
Test the cleaner first
Apply a small amount to an inconspicuous area, such as the lower edge of a seat or a hidden carpet section. Wait until it dries, then check for discoloration, texture changes, or damage.
A mild detergent solution may suit some fabric surfaces. Use a clean cloth or soft brush, work in a small section, and remove the residue afterward. Avoid pouring liquid directly onto the seat.
Never mix cleaning chemicals. In particular, don’t mix bleach with ammonia, vinegar, toilet cleaner, or another acidic product. These combinations can release dangerous gases. OSHA’s mold safety guidance also warns against increasing bleach concentration beyond product directions.
Bleach isn’t a default treatment for car upholstery. It can discolor fabric, damage stitching, affect seat components, and fail to reach mold inside porous padding.
Work in small areas
Dampen the affected surface lightly if the product instructions allow it. Do not flood the carpet or seat. Use controlled passes rather than repeated spraying, then lift the loosened residue with clean microfiber towels or an upholstery extractor.
Move slowly around seams, piping, and seat edges. These areas can hold moisture and are easy to miss. Clean nearby hard plastic and vinyl with a suitable detergent solution, then wipe the surface dry.
Leather needs a different process. Remove surface contamination with a cleaner approved for automotive leather, avoid soaking the seams, and apply conditioner only after the material is clean and fully dry.
Extract Moisture and Dry the Vehicle Completely
Drying is not a finishing touch. It is part of mold removal. A damp seat can develop new growth even after the visible surface has been cleaned.
Use an upholstery extractor on suitable fabric and carpet, taking several slow passes to remove as much water as possible. Empty and clean the extractor according to its instructions. If you don’t have suitable extraction equipment, a professional interior detailer can provide better moisture removal than repeated towel drying.
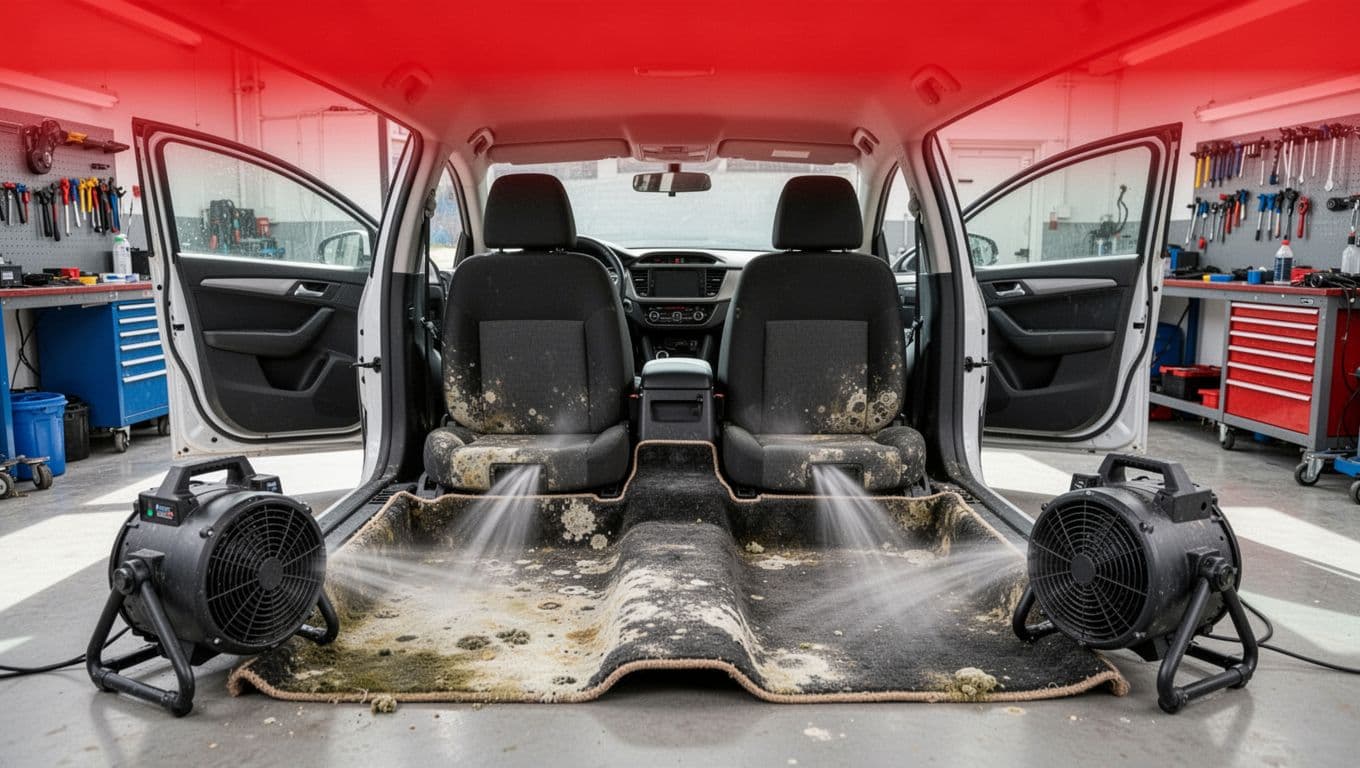
Use airflow, not more product
Leave doors open in a secure, dry area and use fans or air movers to move air through the cabin. Keep the seats upright so air can reach both sides. Lift carpet edges where possible, without damaging clips or trim.
Don’t close the vehicle while the upholstery is still damp. A hot cabin can hide moisture inside foam and padding. Continue drying until the carpet, seams, seat sides, and floor underneath feel completely dry.
Check hidden areas before reassembly
Inspect beneath mats, under the front seats, inside the boot, and around the spare-wheel well. Remove moisture from metal flooring and dry any insulation that can be safely removed.
If the carpet backing or foam still feels damp, don’t reinstall mats or close the doors for storage. A clean-looking cabin is not ready for normal use until the hidden moisture is gone.
When Professional Mold Remediation Is Safer
Professional cleaning is the better choice when contamination extends beyond a manageable surface area or when the vehicle has suffered major water damage. A trained team can remove trim safely, inspect padding, extract moisture, and control contaminated materials.
Replace contaminated padding or carpet
Carpet and seat foam can hold mold below the surface. The EPA notes that moldy absorbent materials may need to be discarded because mold can grow into spaces that are difficult or impossible to clean fully.
Replacement is usually safer when porous materials stayed wet for more than 48 hours, cannot dry completely, remain visibly contaminated, or continue to produce a musty odor. Do not save a carpet section simply because the top looks clean.
Treat HVAC contamination separately
If mold is visible near vents, inside the cabin filter housing, or around HVAC ducts, stop using the system. The EPA’s HVAC mold remediation guidance advises shutting down contaminated systems until remediation is complete, since airflow can distribute mold through the vehicle.
HVAC components may require specialist access, HEPA vacuuming, replacement of contaminated porous parts, and careful drying. Spraying a fragrance or household cleaner into vents doesn’t solve the source.
Protect vulnerable occupants
People with asthma, severe allergies, chronic lung disease, or weakened immune systems shouldn’t perform mold cleanup. Children and pets should stay away until the vehicle has been cleaned, dried, and ventilated.
If symptoms such as coughing, wheezing, eye irritation, or breathing difficulty appear, leave the area and seek medical advice. The vehicle can wait.
Common Mistakes to Avoid
The most common cleaning errors spread contamination or leave moisture behind.
- Don’t use a normal household vacuum on dry, visible mold. Its exhaust may distribute particles through the cabin.
- Don’t scrub aggressively before containing the area. Heavy brushing can push growth deeper into fabric and padding.
- Don’t saturate seats, carpets, door panels, or headliners. Excess water makes the original problem worse.
- Don’t cover a damp interior with mats, towels, or plastic. Trapped moisture encourages further growth.
- Don’t rely on air freshener to cover a persistent odor. The smell often points to moisture or hidden contamination.
- Don’t use the HVAC system until suspected contamination has been assessed and cleaned.
OSHA’s mold control guidance recommends correcting water problems, drying wet materials quickly, and removing mold-damaged materials when cleaning cannot restore them safely.
A Clean Car Starts With a Dry Interior
The safest way to remove mold from a car is a complete process, not a single chemical. Find and repair the moisture source, wear proper protection, test the cleaner, use limited moisture, extract the upholstery, and dry the entire cabin.
If the mold has reached padding, returned after cleaning, spread through the HVAC system, or followed serious water damage, professional remediation is the responsible choice. A spotless interior should also be a dry and healthy one.
Get a price on interior detailing
Shop #7, 44, 22nd Street, Ras Al Khor Industrial Area 2, open 24 hours. Tell us the car and we reply with a price and a time.
Would rather talk? Call +971 55 168 5050. Someone answers 24 hours.
See us first on Google
Google lets you choose the sites you want to see more of. Add Bud Car Wash as a preferred source and our car care guides show up more often in Top Stories and in Google’s AI answers.
Opens Google in a new tab. You can remove us again at any time.

Sammie O is the owner of Bud Car Wash, a 24 hour hand car wash and detailing shop at Shop #7, 44, 22nd Street, Ras Al Khor Industrial Area 2, Dubai. He writes the car care guides on this site based on work done in his own bay.
View All Articles