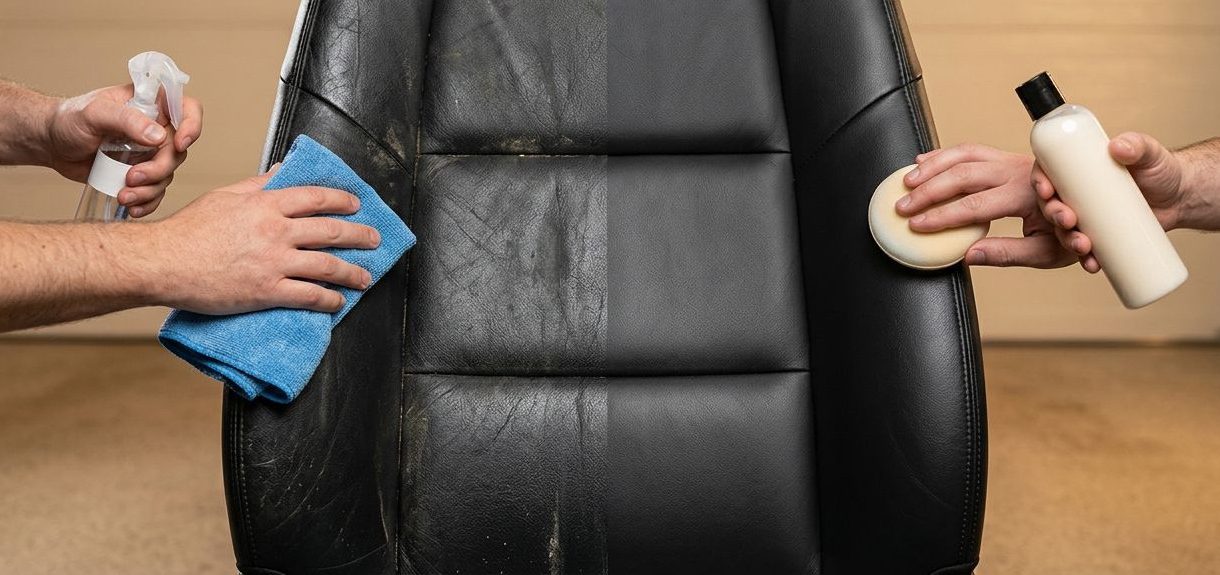

A leather seat can look clean while still feeling dry, or look shiny while holding a layer of body oil and dust. Understanding leather conditioner vs cleaner helps you choose the right product and avoid applying care products in the wrong order.
Cleaner removes dirt, sweat, sunscreen, and surface grime. Conditioner helps maintain suppleness and provides light surface protection, but it won’t repair every crack, peel, stain, or worn finish. Once you know what each product does, car leather care becomes a simple, reliable process.
Leather conditioner vs cleaner: Which one does your car need?
Leather cleaner and leather conditioner are not interchangeable. They support different stages of interior care.
A cleaner prepares the surface by lifting contamination. A conditioner follows after cleaning and helps improve the feel and appearance of the material. Using conditioner over a dirty seat can trap residue and leave a greasy finish.
What leather cleaner does
Leather cleaner is designed to remove the material that builds up through normal driving. Common examples include dust, food marks, sweat, skin oils, sunscreen, and light stains.
A suitable automotive leather cleaner should clean without leaving a heavy film. Many products are pH-balanced or pH-neutral, but you should still check the label and confirm that the formula suits your seat material.
Apply cleaner to a microfiber cloth or soft interior brush instead of soaking the seat. Work in small sections, loosen the dirt gently, then wipe the area with a clean, damp microfiber towel.
What leather conditioner does
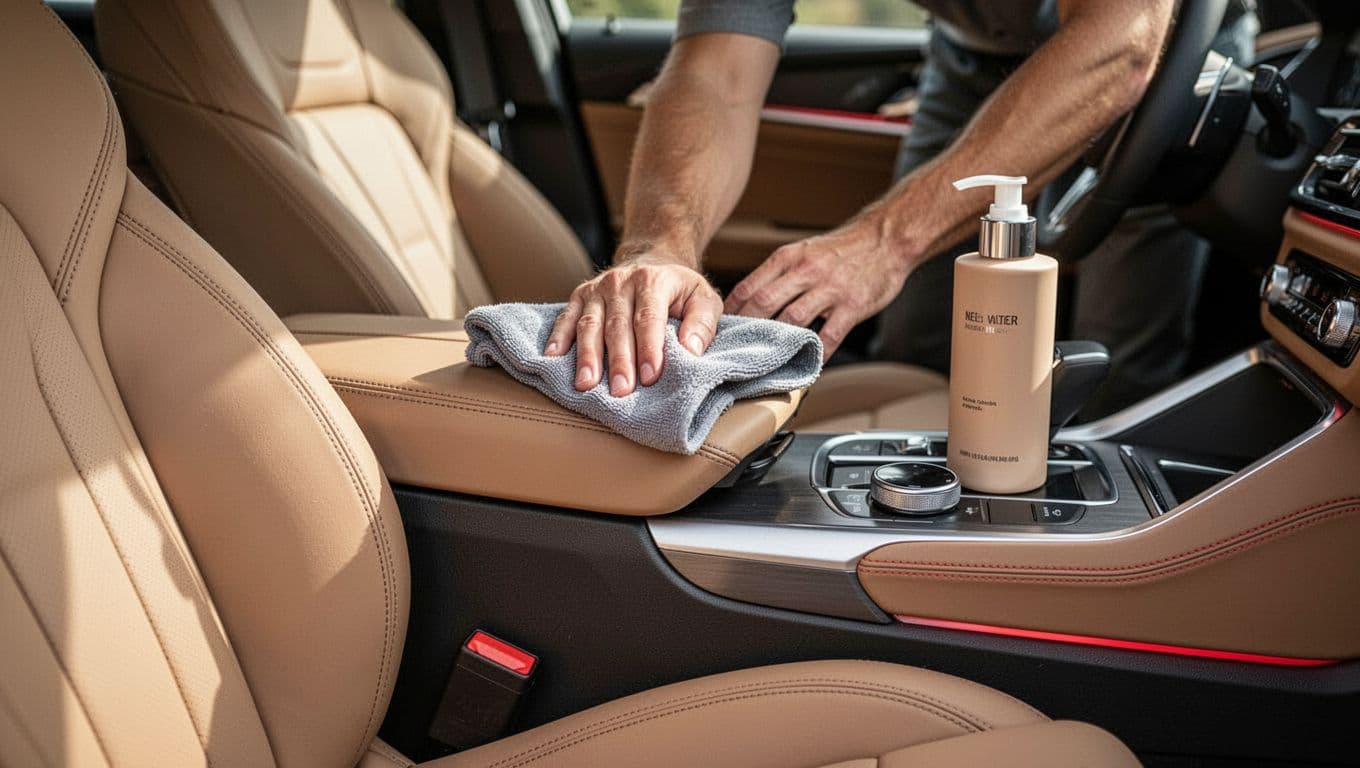
Conditioner is used after cleaning. It helps maintain a softer, more comfortable surface and can reduce the dry appearance that develops with regular use.
Some conditioners contain protectants that help the surface resist everyday contamination or reduce the effect of sunlight. These benefits depend on the formula, so don’t assume every conditioner offers the same protection.
Conditioner also has limits. It doesn’t rebuild missing leather, close deep cracks, repair peeling coating, or restore badly worn color. A damaged seat may need professional repair or recoloring instead of another layer of product.
Cleaner and conditioner compared at a glance
This quick comparison shows where each product fits in a normal interior detailing routine.
| Product | Main purpose | Use it when | Important caution |
|---|---|---|---|
| Leather cleaner | Removes dirt, oils, and light stains | The seat looks dirty or feels greasy | Avoid harsh household cleaners |
| Leather conditioner | Maintains suppleness and surface feel | The clean leather looks dry or needs routine care | Apply a thin layer, not a heavy coating |
| Cleaner and conditioner kit | Combines both stages | You want a complete care routine | Check that both products suit the surface |
The practical answer to leather conditioner vs cleaner is simple: clean first, condition second. If the seat is only dusty, a dry microfiber wipe may be enough. If it has visible grime, use a compatible cleaner before applying any conditioner.
For product selection, Chemical Guys’ leather seat care guide provides a practical clean-and-protect routine. A product comparison such as Car and Driver’s tested leather cleaners can also help you compare formulas before buying.
How to apply leather cleaner and conditioner
Good results depend as much on preparation as on the product itself. Rushing the process can spread dirt, create streaks, or leave the seat unnecessarily wet.
Prepare the surface and patch-test first
Remove loose items from the vehicle and vacuum the seats, seams, and gaps. Use a soft vacuum attachment so you don’t scratch the leather or drag grit across the surface.
Read the product label before applying anything. Test the cleaner and conditioner separately on a hidden section, such as the lower side of the seat. Allow the area to dry, then check for color transfer, darkening, tackiness, or an unwanted change in texture.
Don’t continue if the test area reacts badly. A seat that looks like leather may have a protective coating, vinyl sections, or synthetic inserts that require a different product.
Clean in small sections
Spray a small amount of cleaner onto a microfiber cloth. Avoid flooding the seat or spraying near switches, seat controls, perforations, and stitching.
Wipe one section at a time. For textured leather, a soft detailing brush can help lift dirt from the grain, but use light pressure. Aggressive scrubbing can damage the finish faster than the stain itself.
Remove loosened residue with a separate, slightly damp microfiber towel. Turn the towel often so you don’t move dirt back across the seat. Repeat the process only where contamination remains.
Let the seat dry before conditioning
Give the leather time to dry naturally after cleaning. It should feel clean and dry, not cold, damp, or slippery.
Apply a small amount of conditioner to a clean applicator or microfiber cloth. Spread a thin, even layer across one section. Avoid saturating perforated leather, because excess product can collect inside the holes.
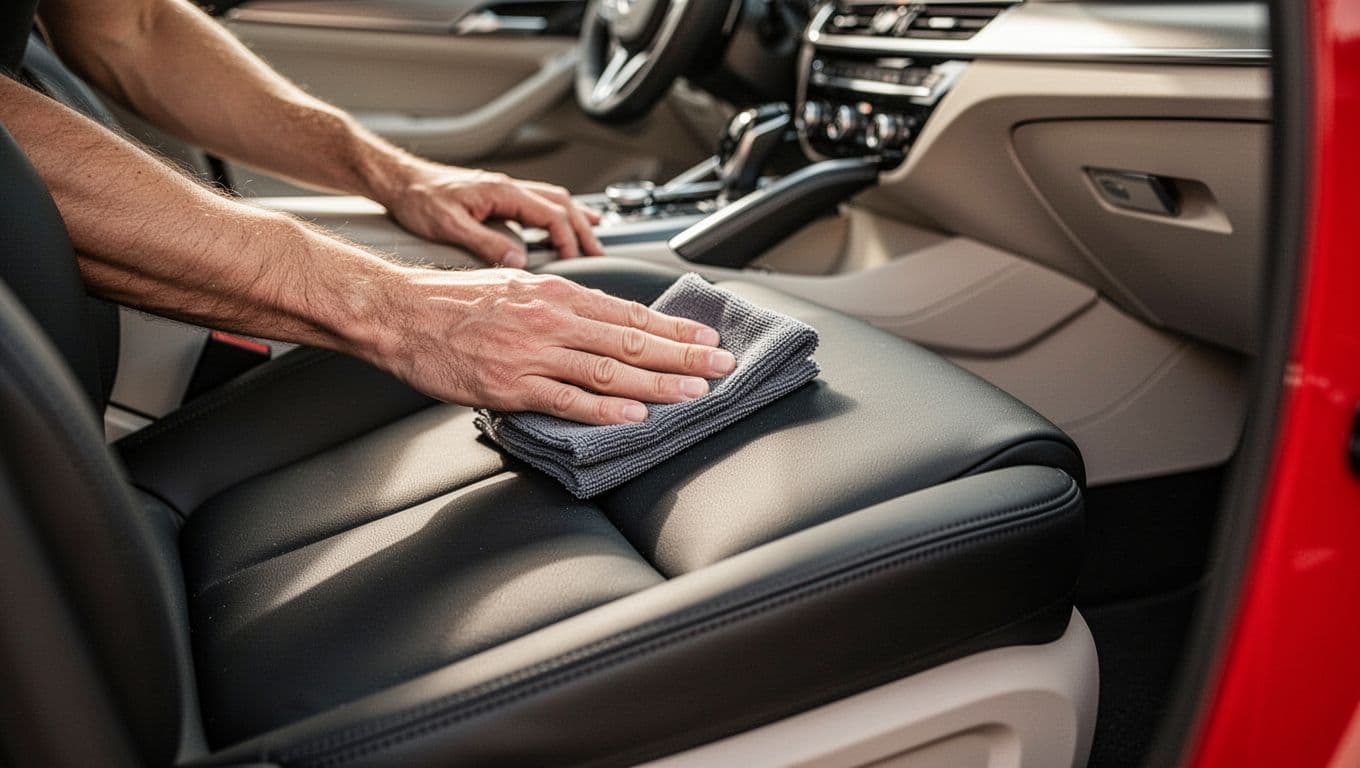
Leave the product on the surface for the time stated on the label. Then buff away residue with a dry microfiber towel. The preferred result is a clean, soft, natural finish, not a wet shine.
Check whether your car has coated or synthetic leather
Many modern automotive seats have a protective topcoat over the leather. This coating improves durability and helps shield the material from everyday wear. It also means a conditioner may sit mainly on the surface instead of soaking into the leather.
Coated automotive leather needs compatible products
Choose products made for automotive leather or for coated leather surfaces. Avoid strong solvents, abrasive cleaners, household degreasers, and products that leave a thick oily film.
The Bowden’s Own guide to modern automotive leather care explains why products designed for PU-coated leather are often a safer choice for modern interiors.
A matte or low-sheen finish is usually preferable for a driver’s seat and steering wheel. Excess shine can make the surface feel greasy and may reduce grip on the wheel.
Synthetic leather is not the same as natural leather
Vinyl, polyurethane, and other synthetic materials can look almost identical to leather. They may need a water-based cleaner or a synthetic leather protectant instead of a traditional conditioner.
Check your owner’s manual and the product label. A conditioner intended for untreated leather may leave synthetic material slick, cloudy, or sticky. Patch testing is especially important when the seat includes both leather and synthetic panels.
How often should you clean and condition car leather?
Clean the seats when they show visible dirt or feel oily. High-contact areas, including the driver’s bolster, steering wheel, armrest, and gear selector, often need attention before the rest of the interior.
Routine wiping with a dry or lightly damp microfiber cloth can reduce buildup between deeper cleaning sessions. Avoid turning every cleaning into a heavy chemical treatment.
Conditioning should stay light and occasional. Follow the product directions rather than applying more because the seat looks dull. Too much conditioner can attract dust, create uneven patches, and make the surface slippery.
Your car’s use also matters. Frequent passengers, children, pets, outdoor parking, and strong heat can increase the need for cleaning. They don’t automatically mean the leather needs a thick layer of conditioner every time.
When professional interior detailing is the better choice
Home care works well for routine dust and light grime. Professional detailing is more suitable when dirt is embedded in textured surfaces, stains have been left untreated, or the seat has cracking, fading, peeling, or color loss.
A trained detailer can identify the surface before choosing a product. This matters when an interior combines coated leather, vinyl, perforated panels, plastic trim, and delicate stitching.
For vehicles exposed to Dubai’s heat and dust, regular interior detailing can help keep high-contact areas clean without relying on excessive product. A careful service uses the correct cleaner, controlled moisture, suitable tools, and a final inspection for residue.
The most useful result is not a glossy seat. It is a clean, comfortable interior with an even finish and no product left in the seams.
Conclusion: Clean first, condition with care
The difference between leather conditioner vs cleaner comes down to the job each product performs. Cleaner removes dirt and oils, while conditioner supports suppleness and light protection after the surface is clean.
Use a compatible automotive formula, prepare the seat, patch-test in an unseen area, and apply small amounts. Don’t expect conditioner to repair damaged leather or to work safely on every coated or synthetic surface.
When the seat needs more than routine care, professional detailing provides a safer assessment and a more consistent finish. Clean leather first, then condition only as much as the material and product require.

Sammie O is the owner of Bud Car Wash, a 24 hour hand car wash and detailing shop at Shop #7, 44, 22nd Street, Ras Al Khor Industrial Area 2, Dubai. He writes the car care guides on this site based on work done in his own bay.
View All Articles