


A spilled drink can turn a child car seat into a cleaning job before your next drive. To clean a child car seat safely, start with the seat’s manual, not a bottle of cleaner.
The cover, harness and buckle may each need a different method. A clean seat is useful only if every part still works and fits as intended. Start by checking the manual to identify exactly what you’re allowed to remove and wash.
Check the manual before touching any part
Car seat cleaning instructions vary by manufacturer and model. Even seats from the same brand may have different covers, buckle designs or washing limits. The label on the seat can help you find its model details and the correct manual if the printed copy is missing.
Find instructions for the exact seat
Read the sections for cover removal, harness cleaning, buckle care and reassembly. If you can’t find a clear instruction, contact the manufacturer before taking the seat apart. General advice cannot tell you whether a particular cover can go in a washing machine or how its buckle should be rinsed.
The NHTSA car seat safety guidance also stresses correct installation and use. Cleaning should leave the seat ready to meet those same checks.
Keep the components separate
A removable cover is fabric. Harness webbing holds your child in place. The buckle is a working mechanism. Treating them all like laundry can damage a part you rely on during a journey.
A machine-washable cover doesn’t mean the attached harness straps are machine-washable.
Prepare the seat for a careful clean
Choose a time when the seat can dry fully before your child needs it again. Keep the manual nearby and take clear photos of any approved removal steps. Photos can help you identify where a cover edge or pad belongs, but use the manual for the final assembly.
Remove loose crumbs with a soft brush or a vacuum attachment. Work gently around seams, slots and the buckle opening. Keep the vacuum nozzle away from loose foam or small parts that could be pulled free.
Before applying water or detergent, check whether the manual permits either one on the surface you’re cleaning. Protect printed warning labels and don’t peel them away. If the seat is heavily soiled, clean one approved component at a time so its original position stays clear.
How to clean child car seats safely, starting with the cover
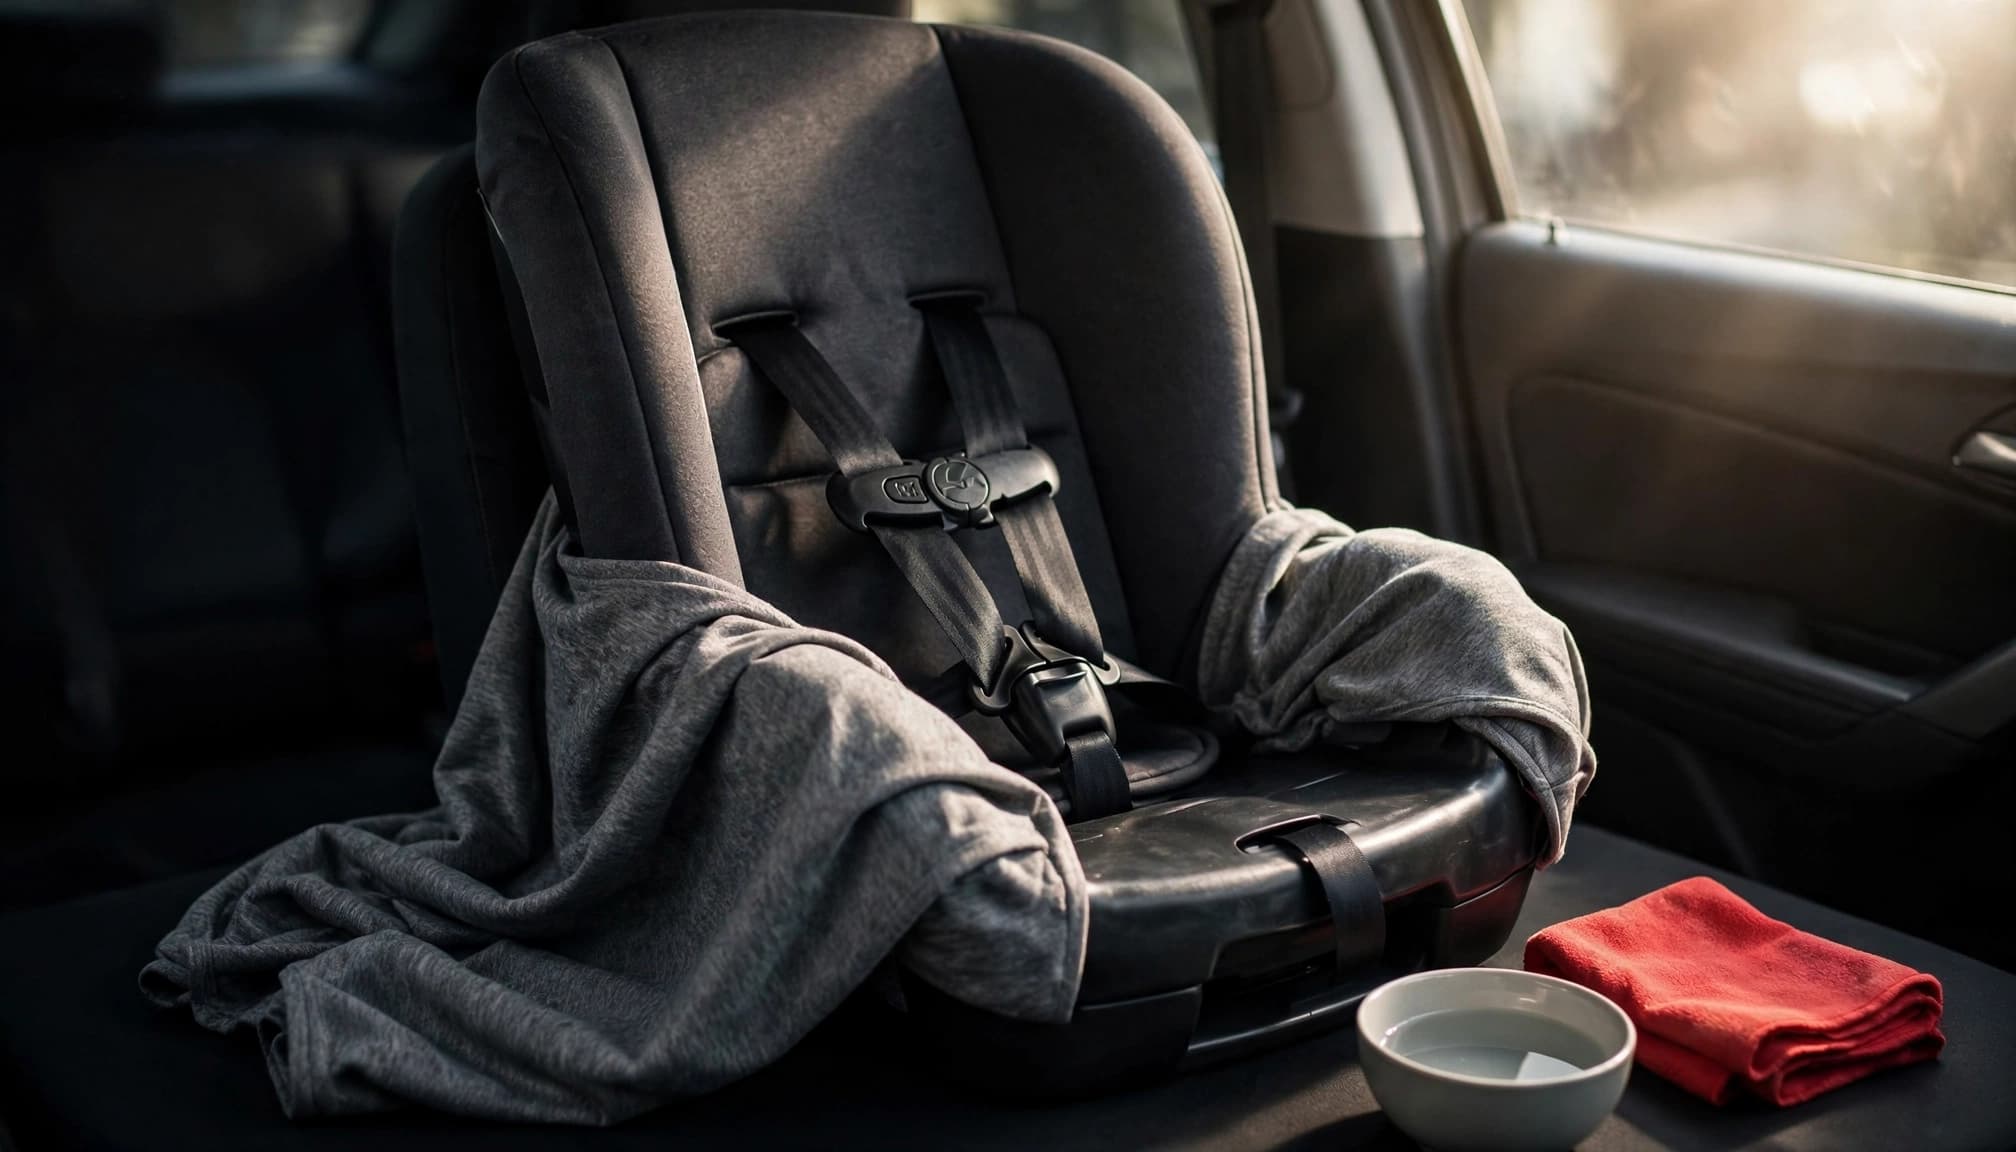
The cover usually collects the most visible dirt, yet its care instructions are not universal. Confirm which pads detach and whether any inserts must stay in place.
Use the washing method your model permits
Britax says many of its covers call for hand-washing in cold water with mild soap, while some Chicco padding can be machine-washed on a cold, delicate cycle. Those examples show why a care label or brand name alone isn’t enough. Follow the instructions for your exact seat and each removable pad.
If machine-washing is allowed, use the stated cycle and detergent. If only spot-cleaning is allowed, focus on the stain rather than wetting the whole cover. Don’t add bleach, strong stain removers or fabric softener unless the manual explicitly permits them.
Let fabric dry as directed
Follow the manufacturer’s drying instructions before refitting the cover. Many car seat fabrics require air-drying, but the permitted method depends on the model. Avoid heat or direct sun when the manual prohibits them.
Check the cover for damp seams and padding before putting it back. A cover that looks dry on the outside may still hold moisture underneath. Never rush reassembly to put a child in a wet seat.
Treat harness straps as safety equipment
Harness webbing needs more restraint than upholstery. Britax, Chicco and UPPAbaby provide spot-cleaning instructions for harness straps in their cited guidance, rather than directing owners to put them in a washing machine. Your model’s manual remains the deciding source.
Clean only as instructed
For a small mark, follow the manual’s directions for a cloth, water and any approved mild cleaner. Work on the affected area without saturating the strap. Keep the webbing flat and allow it to dry completely before use.
Don’t soak, machine-wash, steam-clean or scrub harness straps with a stiff brush unless the manufacturer explicitly permits that method. Avoid bleach, harsh chemicals and solvents. They may affect the webbing, and a strap can look clean without showing that damage.
Check the webbing after a major spill
If vomit or a drink has soaked through the straps, don’t guess at a stronger cleaning method. Ask the manufacturer how to clean the harness or whether a replacement part is needed.
Inspect the straps for fraying, cuts, stiffness, unusual wear or damage to their stitching. Stop using the seat if you’re unsure whether the harness is sound. Cleaning cannot repair damaged webbing.
Clean the buckle without soaking it
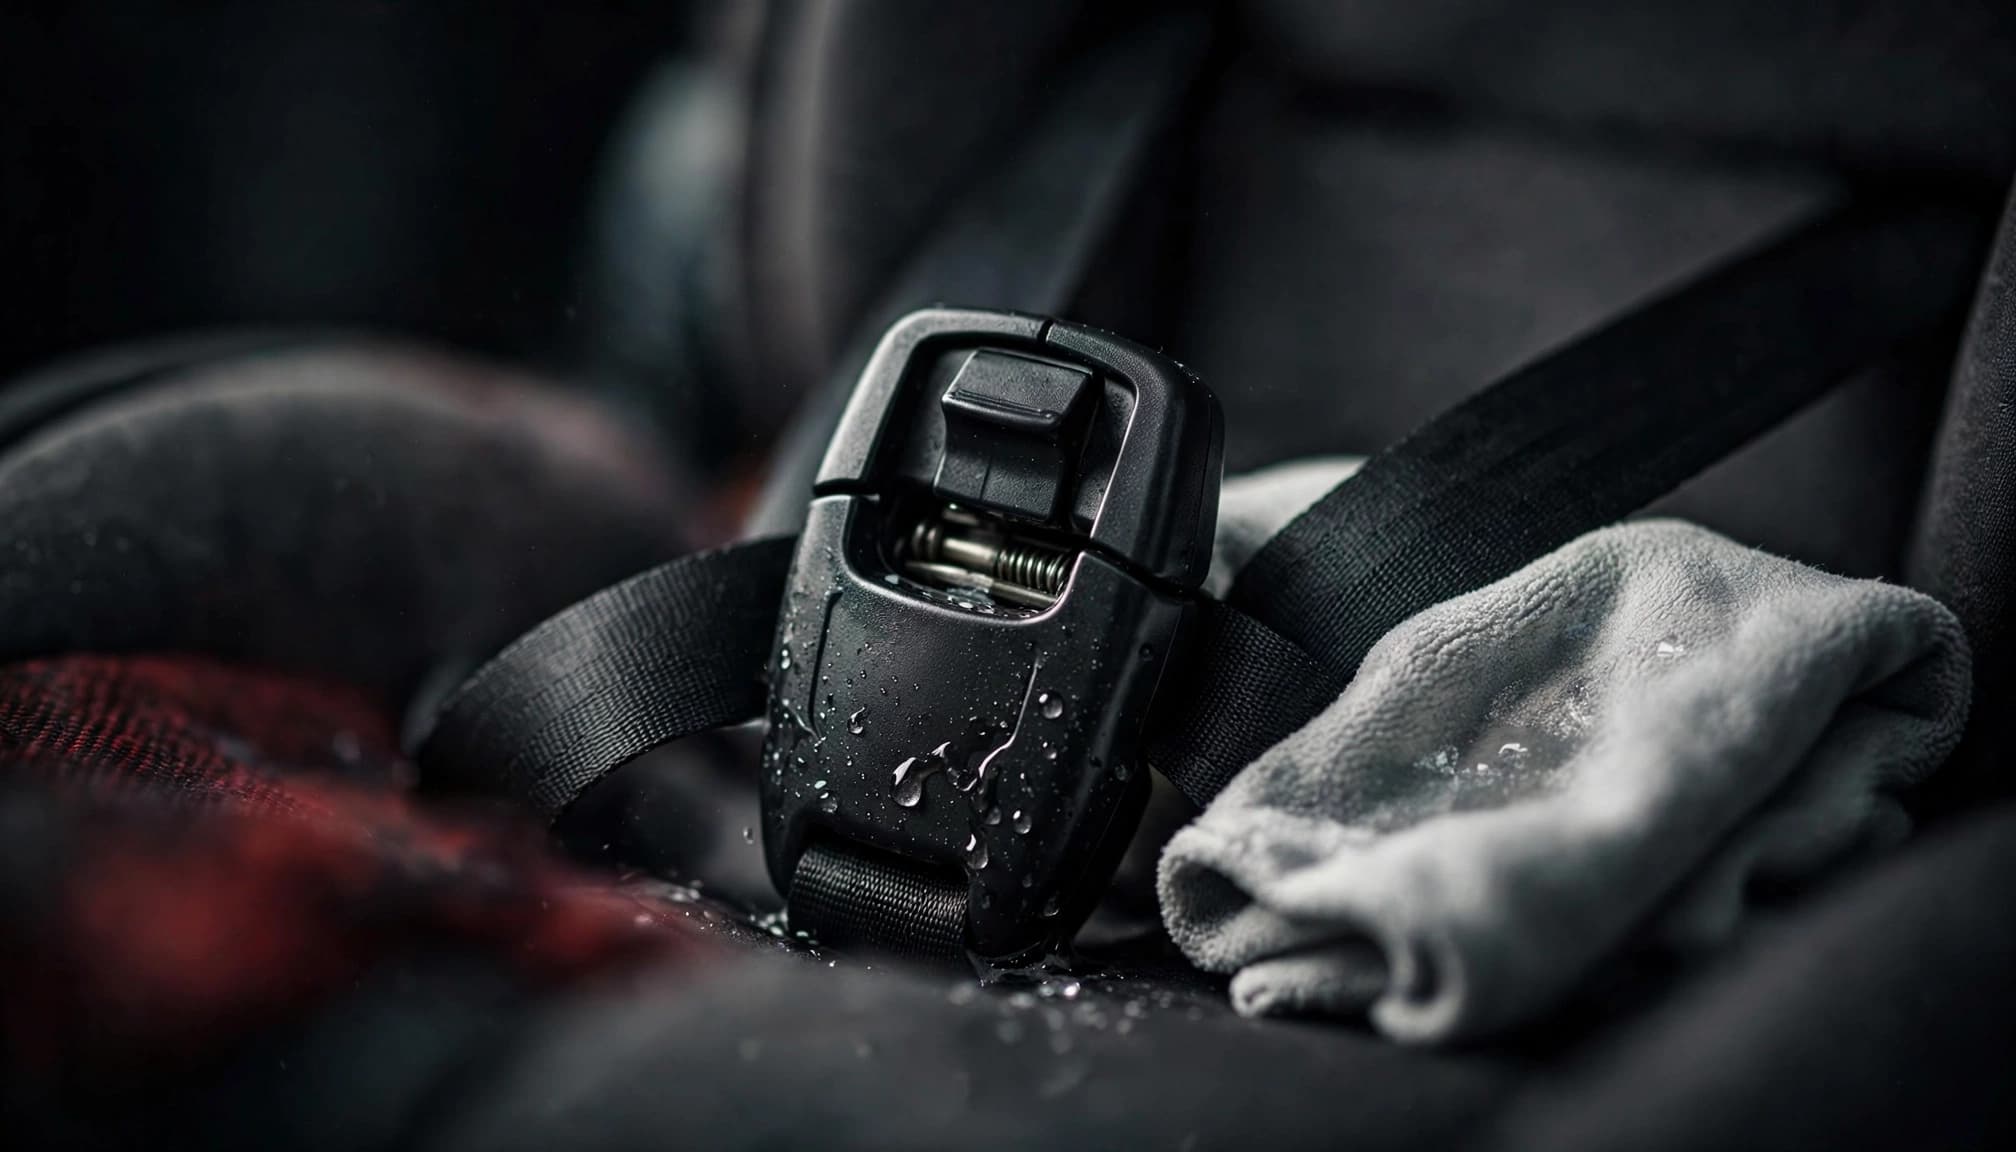
Food and grit can interfere with a buckle’s operation. Its cleaning method depends on the design, so find the buckle instructions before using water.
Follow the buckle’s own directions
Britax and UPPAbaby describe rinsing certain buckles with warm running water when they don’t click properly. Their guidance also warns against detergents and lubricants. That doesn’t make rinsing the right choice for every buckle. Use the method stated in your seat’s manual.
Don’t soak a buckle, put it in a dishwasher or apply oil unless your manufacturer explicitly directs you to do so. Avoid pushing tools or cotton buds into the mechanism. They can leave material behind or disturb its parts.
Test it before your child rides
Allow the buckle to dry as directed. Insert each tongue and check that it fastens securely, then press the release and check that it opens correctly. Repeat the test if the manufacturer calls for it.
If it won’t click or release reliably, don’t use the seat. Contact the manufacturer for the next step rather than trying to repair the mechanism yourself.
Manage travel spills without rushing the job
On a long drive, a small spill rarely calls for dismantling the seat at the roadside. Remove loose food, blot an approved fabric surface if the manual allows it, and leave detailed cleaning until you have the instructions and enough drying time.
Pack a spare change of clothes and a cloth where you can reach them. Keep unapproved wipes and sprays off the harness and buckle. If a spill reaches a safety part, check its cleaning instructions before the next ride.
A practical overnight stop also makes seat care easier. Families comparing Garden Grove hotels with parking and family suites can plan space and time to deal with a messy seat without rushing back onto the road.
Reassemble and check the seat before reuse
Cleaning is not complete when the fabric looks fresh. Every approved part must return to its correct position, and the seat must still be installed and used as directed.
Restore the cover and buckle correctly
Use the manual’s sequence to refit the cover, pads and any buckle parts you were allowed to remove. Check that fabric doesn’t cover an adjustment control or prevent a harness strap from moving freely.
Verify that the harness follows the correct path through the seat. It should lie flat, without twists, and adjust smoothly. Don’t add padding, covers or replacement hardware unless the manufacturer approves them for that seat.
Check installation and fit
If you removed the seat from the vehicle, reinstall it according to its manual and your vehicle’s instructions. Confirm that it’s secured at the required belt path and that any tether or other fitting is used as directed. The NHTSA rear-facing installation guidance explains why harness position and untwisted straps matter.
Place your child in the seat and check harness height and snugness for the seat’s current mode. The American Academy of Pediatrics offers car seat guidance for families on choosing and using the appropriate seat. If anything sits differently after cleaning, return to the manual before driving.
Know when cleaning isn’t enough
A stain on approved washable fabric is one problem. A damaged strap, unreliable buckle or missing part is another. Don’t cover a fault with fresh padding or continue using a seat that doesn’t fasten and adjust correctly.
Contact the manufacturer if cleaning directions are unclear, a safety component was soaked, or a part still feels sticky after an approved clean. Give them the model details so they can advise on the correct part and procedure.
For professional vehicle cleaning, tell the provider that child car seat components need model-specific care. Interior detailing should not include unapproved chemicals or steam on the seat’s harness and buckle.
Key takeaways
- Check the exact seat manual before removing, washing or reinstalling anything.
- Clean the cover, harness and buckle according to their separate instructions.
- Keep bleach, harsh chemicals and unapproved washing methods away from safety parts.
- Let components dry fully, then test the buckle, harness fit and installation before travel.
Frequently asked questions
Can I put a child car seat cover in the washing machine?
Only if the manual permits machine-washing for that particular cover or pad. Follow its cycle, temperature, detergent and drying directions. Other covers need hand-washing or spot-cleaning.
Is it safe to wash car seat harness straps?
Follow the model’s harness instructions. Spot-cleaning is the method described in guidance from several major manufacturers. Don’t soak or machine-wash straps, or use harsh cleaners, unless the manufacturer explicitly allows the method.
What if the buckle still sticks after cleaning?
Stop using the seat until the buckle fastens and releases correctly. Recheck the manual, then contact the manufacturer if the approved cleaning method hasn’t fixed it. Don’t use lubricant or take the mechanism apart on your own.
Clean seat, ready seat
A spill is inconvenient. Cleaning it without a plan can create a larger problem. Model-specific instructions protect the parts that need more care than ordinary fabric.
Take time to dry, reassemble and test the seat before your next drive. A safe clean ends when the seat works and fits as intended.

Sammie O is the owner of Bud Car Wash, a 24 hour hand car wash and detailing shop at Shop #7, 44, 22nd Street, Ras Al Khor Industrial Area 2, Dubai. He writes the car care guides on this site based on work done in his own bay.
View All Articles
