
A clean roof liner makes the cabin feel fresher, especially after long drives, but too much moisture can damage the bond behind the fabric. Safe car headliner cleaning depends on gentle handling, a tested cleaner, and a small amount of moisture.
Work on one small area at a time. Blot stains instead of scrubbing, and stop if the fabric begins to loosen or sag.
Key Takeaways
- Use a soft cloth and the least moisture needed.
- Test any cleaner in a hidden spot first.
- Blot marks gently, and don’t pull or scrub the fabric.
- Skip soaking and steam cleaning.
- Choose professional cleaning for large stains, delicate materials, or an already sagging liner.
Why a Car Headliner Needs Gentle Cleaning
A headliner is fabric attached to a backing, commonly with foam and adhesive between the layers. If the fabric gets too wet, moisture can reach the adhesive and weaken the bond. The result may be loose fabric or sagging that a surface clean can’t fix.
The liner also sits above you, which makes it tempting to wipe hard or spray cleaner overhead. Both can lead to uneven moisture or extra pressure on the fabric. A light, controlled approach is safer.
Check the liner before cleaning
Look for loose edges, bubbles, hanging areas, or a brittle texture. If you find any of these, avoid rubbing or pressing the material. Cleaning may worsen an existing problem.
Check your vehicle’s care instructions if they’re available. Headliner materials can differ, and a cleaner that works on one fabric may leave marks on another.
Treat dust and stains differently
Dry dust and loose debris don’t need a wet cleaner. Remove them carefully before spot-cleaning, so particles don’t get rubbed into the fabric.
A fresh spot may respond to a small amount of cleaner. Old or widespread discoloration needs more care, and repeated DIY attempts can create a larger damp patch than the original stain.
Prepare the Right Tools and Cleaner
Gather supplies before you start. You’ll need clean microfiber cloths, a soft vacuum attachment if available, and an upholstery cleaner labeled for the material. Avoid household products unless the vehicle instructions specifically approve them.
The cleaning steps in Chemical Guys’ headliner guide start with inspection and loose-dirt removal before stain treatment. That order helps limit rubbing and keeps loose particles from spreading.
Choose a product for upholstery
A foam upholstery cleaner or suitable enzyme-based spray may work for a specific stain, but always read the label and test it first. A product that is safe for seats isn’t automatically safe for every headliner.
Avoid bleach, strong solvents, and abrasive powders. Don’t mix cleaning products. If the label doesn’t clearly state that the cleaner is suitable for the material, choose another option or ask a detailer.
Test in a hidden area
Apply a small amount of cleaner to a cloth, then test an inconspicuous spot near an edge. Check for color transfer, fading, texture changes, or a visible water mark.
Let the test area dry before cleaning the stain. If the fabric changes in any way, stop and use a professional service.
How to Clean a Car Headliner Safely
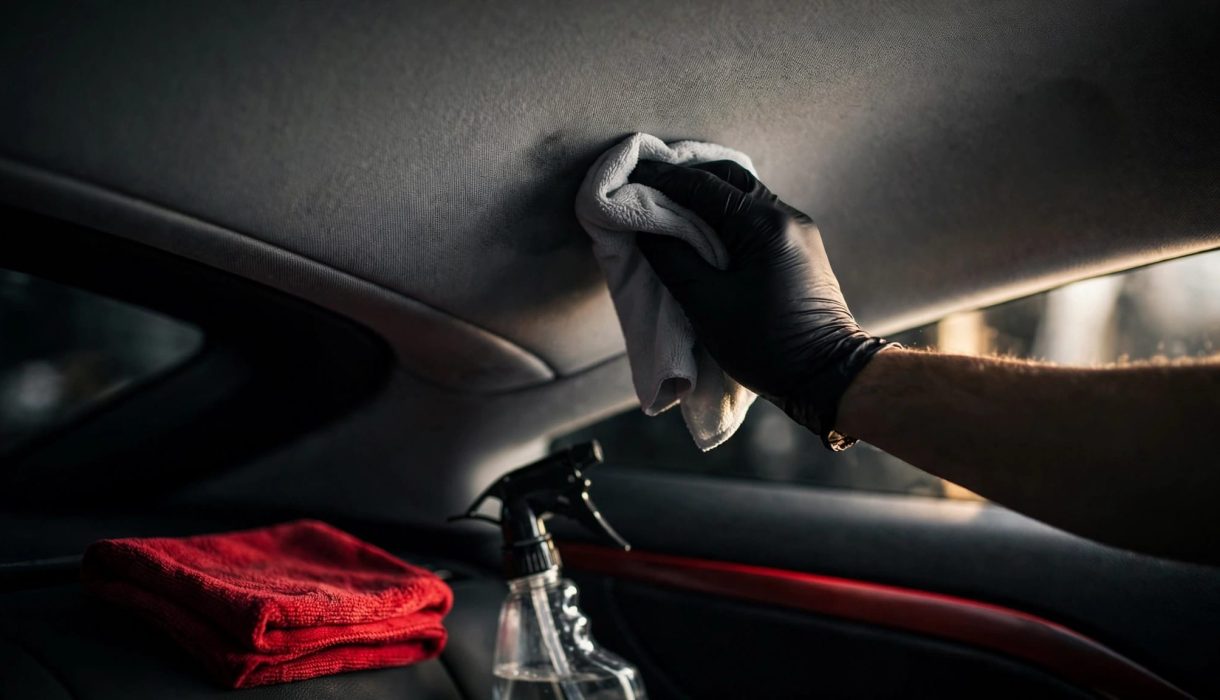
Keep moisture on the cloth, not directly on the ceiling. AutoZone also recommends applying cleaner to a microfiber cloth and avoiding saturation to protect the adhesive underneath. Follow a careful sequence:
Remove loose dust
Use a clean, dry microfiber cloth with light strokes. If you have a vacuum with a soft upholstery attachment, set it to low suction and hold it near the surface without pressing the nozzle into the fabric.
Work in short sections. Don’t drag the vacuum across the liner or pull at loose fibers.
Apply cleaner sparingly
Dampen a clean cloth with a small amount of cleaner. If the product requires misting, spray the cloth lightly rather than spraying the ceiling. The cloth should feel slightly damp, not wet.
Start with a small area around the stain. A large wet patch can reach the backing and adhesive, so avoid cleaning the entire roof at once.
Blot, then inspect
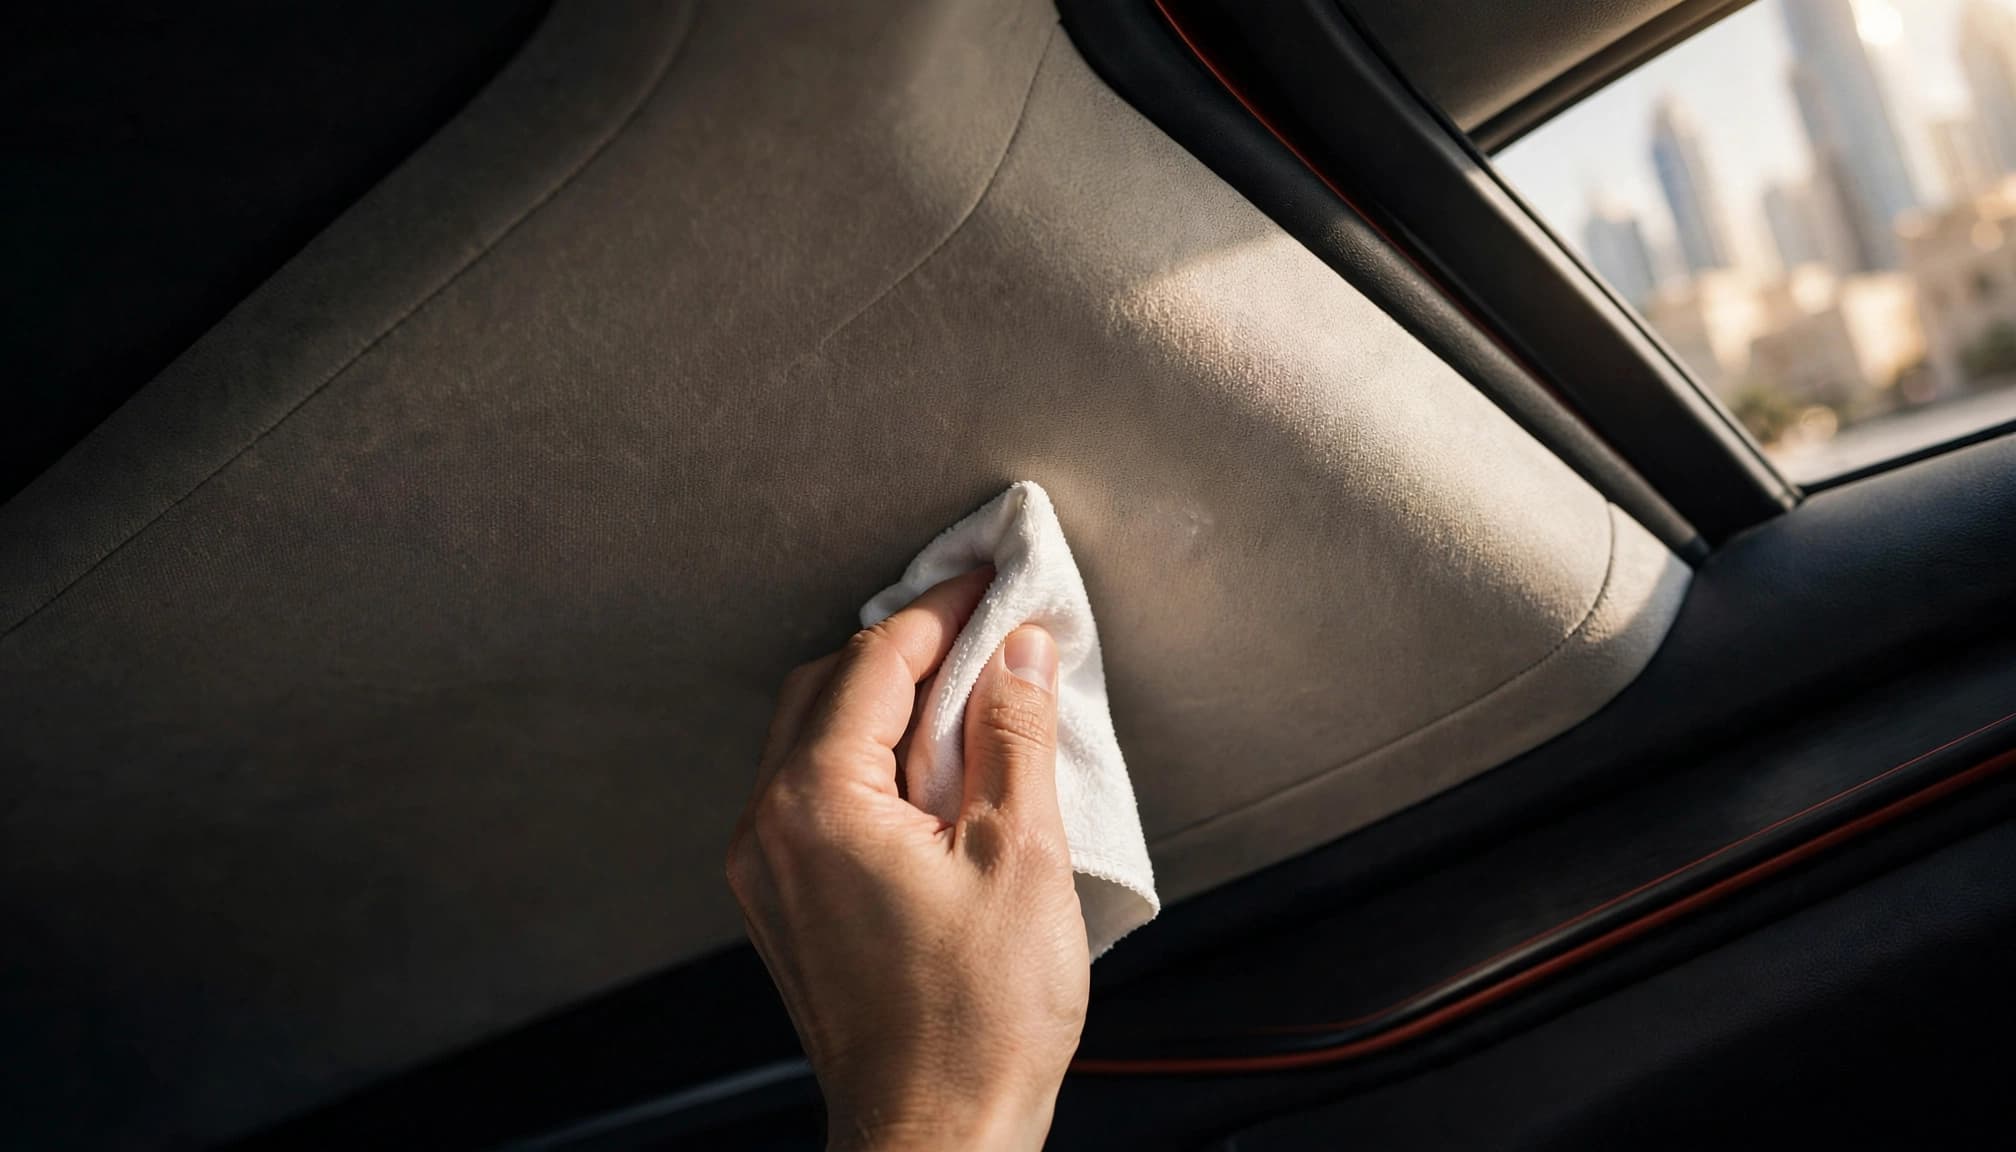
Press the cloth gently against the mark and lift it away. Turn to a clean part of the cloth as it picks up dirt. Repeat only as needed, and check the fabric between attempts.
Capital One’s headliner cleaning advice favors blotting over spraying to reduce the risk of over-wetting the glue behind the fabric. AutoZone describes a gentle wipe for some cleaning situations. With a delicate or unknown material, start with blotting and avoid friction.
Match the Cleaning Method to the Stain
Headliner stains can come from dust, drinks, food, or marks left by hands. The source matters because using more cleaner isn’t always the answer. First remove loose dirt, then treat the affected area with a damp cloth.
For fresh spills
Blot a fresh spill as soon as practical with a dry microfiber cloth. Press lightly to absorb the liquid, and use a clean section of cloth each time. Don’t push down hard, since pressure can spread the spill into the backing.
If a mark remains, use a small amount of tested upholstery cleaner on another cloth. Avoid repeated wetting if the stain doesn’t lift after a few careful passes.
For greasy or older marks
Grease and older stains may need a cleaner suited to that type of soil. Test the product in a hidden spot and follow its label. Avoid scrubbing with a brush or rough pad, which may distort the fabric.
Killer Brands recommends suitable foam or enzyme-based sprays for spot-cleaning and cautions against vigorous scrubbing and hard brushes in its headliner cleaning guidance. If the stain keeps returning or covers a broad area, a professional can assess it before more cleaning causes damage.
What to Avoid During Headliner Cleaning
Certain methods add more risk than cleaning power. A gentle spot treatment is easier to control and less likely to push moisture through the fabric.
- Don’t soak the liner or spray cleaner directly overhead.
- Don’t use a steam cleaner. Heat and moisture can affect the fabric and the adhesive beneath it.
- Don’t scrub in circles or use a stiff brush, scouring pad, or abrasive sponge.
- Don’t pull, stretch, or press hard on loose fabric.
- Don’t keep reapplying cleaner when a stain isn’t responding.
- Don’t use a hair dryer or strong heat to speed up drying.
Avoiding saturation is especially important around seams, edges, and lights, where liquid can spread beyond the visible spot. If the cloth becomes wet enough to drip or leave a broad damp area, pause and let the material air-dry.
Let the Liner Dry Without Pulling It
After spot-cleaning, leave the vehicle in a well-ventilated, shaded place with the doors open when it’s safe to do so. Keep the liner untouched while it dries. Don’t press it upward or try to smooth out a damp patch with your hands.
Check the cleaned area after it has dried. A slight mark may become less visible as the moisture evaporates, so avoid repeating the process immediately. If the stain remains, another round may add risk without improving the result.
For future upkeep, remove dust when you notice it and treat spills promptly. Small, controlled care between trips can reduce the need for a full headliner clean.
When Professional Cleaning Is Preferable
Choose a professional when a stain is large, old, or spread across multiple areas. Professional cleaning is also a safer choice for delicate materials, persistent odors, or a headliner with existing loose sections. A trained detailer can assess the fabric and recommend cleaning or repair before applying moisture.
If the liner is already sagging, don’t try to pull it tight or clean it back into place. The adhesive may have weakened, and cleaning won’t restore its bond. A specialist can tell you whether the headliner needs repair or replacement.

Ford care guidance described by Nathan’s Detailing advises removing loose dirt, using a soft damp cloth, spot-cleaning heavy stains, and avoiding oversaturation. A professional familiar with headliner materials can help when a cautious spot-clean isn’t enough.
Frequently Asked Questions
Can I use water to clean a car headliner?
Use as little water as possible and apply it to a cloth, not directly to the liner. Test a hidden spot first. If the fabric shows a mark, changes texture, or starts to loosen, stop and let a professional assess it.
Can I use a brush on a headliner?
Avoid hard brushes and vigorous brushing. A soft vacuum attachment may help remove loose dust when used on low suction without pressing it against the liner. For stains, use a cloth and blot gently.
What should I do if the headliner starts sagging?
Stop cleaning and don’t pull or press the fabric into place. More moisture or pressure can make the problem worse. Ask an automotive upholstery or detailing professional to inspect the liner and recommend a repair.
Keep the Liner Clean and Firm
A clean headliner doesn’t require a deep wash. Remove loose dust, test the cleaner, and use a barely damp cloth to blot small marks. Avoiding excess moisture and pressure helps protect the fabric’s bond.
For larger stains or loose fabric, professional assessment is the safer choice. A careful clean today can keep a small mark from becoming a bigger repair.

Sammie O is the owner of Bud Car Wash, a 24 hour hand car wash and detailing shop at Shop #7, 44, 22nd Street, Ras Al Khor Industrial Area 2, Dubai. He writes the car care guides on this site based on work done in his own bay.
View All Articles