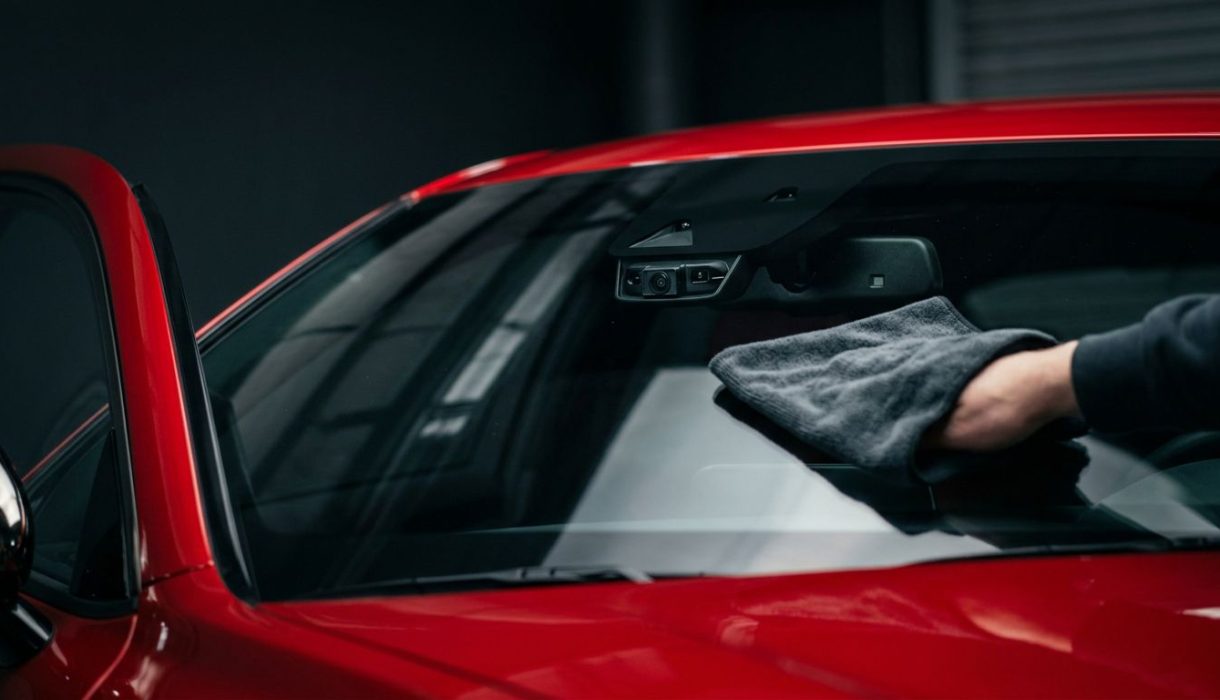

A dirty camera or radar cover can block the view your driver-assistance system relies on. Safe ADAS sensor cleaning starts with knowing where your vehicle’s sensors are and checking the owner’s manual before you touch them.
Park in a safe place before cleaning. Use a clean, soft microfiber cloth and water or a product approved by your vehicle manufacturer. A careful wipe can clear surface dirt, but it can’t confirm that an ADAS feature is working correctly.
Key Takeaways
- Check your owner’s manual for sensor locations and approved cleaning instructions. Methods vary by vehicle.
- Clean gently with a soft, clean microfiber cloth and water, or a manufacturer-approved product.
- Don’t scrape, use abrasive materials or harsh chemicals, or aim high-pressure water directly at sensors.
- Follow any dashboard alert. If it stays on after cleaning and drying, arrange an inspection.
Find the Sensors Before You Start
ADAS hardware can sit in several places around a vehicle. Common locations include the upper windshield, front grille or bumper, rear bumper corners, and side mirrors. Some radar sensors sit behind a badge or cover, so there may be no visible lens to wipe.
Check the owner’s manual for exact locations
Use the manual’s section on driver-assistance systems to find cameras, radar units, and parking sensors. The same vehicle can have several sensor types, and their approved care may differ. Don’t remove a cover or trim piece to look for a sensor.
A windshield camera often sits behind the glass near the rear-view mirror. Front radar may sit behind a grille emblem, while parking sensors are small round units set into the bumpers. Your vehicle may have only some of these features.
Look for dirt without touching the hardware
Check for dust, mud, water spots, insects, or snow on visible sensor surfaces and the glass in front of cameras. In Dubai, fine dust and road film can build up quickly, especially after a long drive or a day in construction traffic.
If a sensor cover is cracked, loose, or visibly damaged, don’t try to adjust it. Cleaning can’t correct a shifted camera, damaged radar unit, or faulty connection.
Prepare the Vehicle for Cleaning
Move to a safe, level place away from moving traffic. Park securely, then follow your vehicle’s instructions for preparing it before cleaning. Avoid wiping sensors while driving or while the vehicle is in a busy wash area.
Use a fresh microfiber cloth. A cloth that has picked up grit can drag particles across glass or plastic and leave fine scratches. If the sensor area is dusty, dampen the cloth first rather than rubbing the dry surface.
Keep your cleaning supplies simple. Use water or a cleaner specifically approved by the manufacturer for that component. Don’t assume a product that’s safe for paint or glass is also safe for a camera cover or sensor surface.
For a longer drive, include sensor checks with your other pre-trip preparations. If your route includes an overnight stop on the Alaska Highway, review these Watson Lake lodging options for a road trip before setting off.
Clean Exterior Radar and Parking Sensors Gently
Dirt on an exterior sensor can interfere with its view. The right cleaning method depends on the vehicle, so use the manual as your guide. Ford and Kia owner information warns against directing pressurized water at sensor areas. Toyota guidance also recommends a soft cloth for its radar sensor and cover.

Wipe the surface with light pressure
Dampen the microfiber cloth with water or an approved product. Wipe the sensor cover gently, using a clean part of the cloth as needed. If dirt remains, dampen the area and give it time to soften before wiping again.
Don’t dig at dried mud or insect residue with a fingernail, scraper, brush, or other tool. Avoid abrasive pads and harsh chemicals, including solvents, unless the manufacturer specifically approves a product for that sensor.
Keep the pressure washer away from sensor covers
A high-pressure jet can put force on seals, covers, and nearby components. Don’t direct one at a radar cover, camera lens, or parking sensor, even if the dirt looks stubborn. During a professional wash, ask the staff to follow the vehicle manufacturer’s instructions around ADAS equipment.
Keep stickers, films, accessories, and paint away from sensor surfaces unless the vehicle maker approves them. A cover that looks clean can still be obstructed by an added layer.
Keep the Windshield Camera’s View Clear
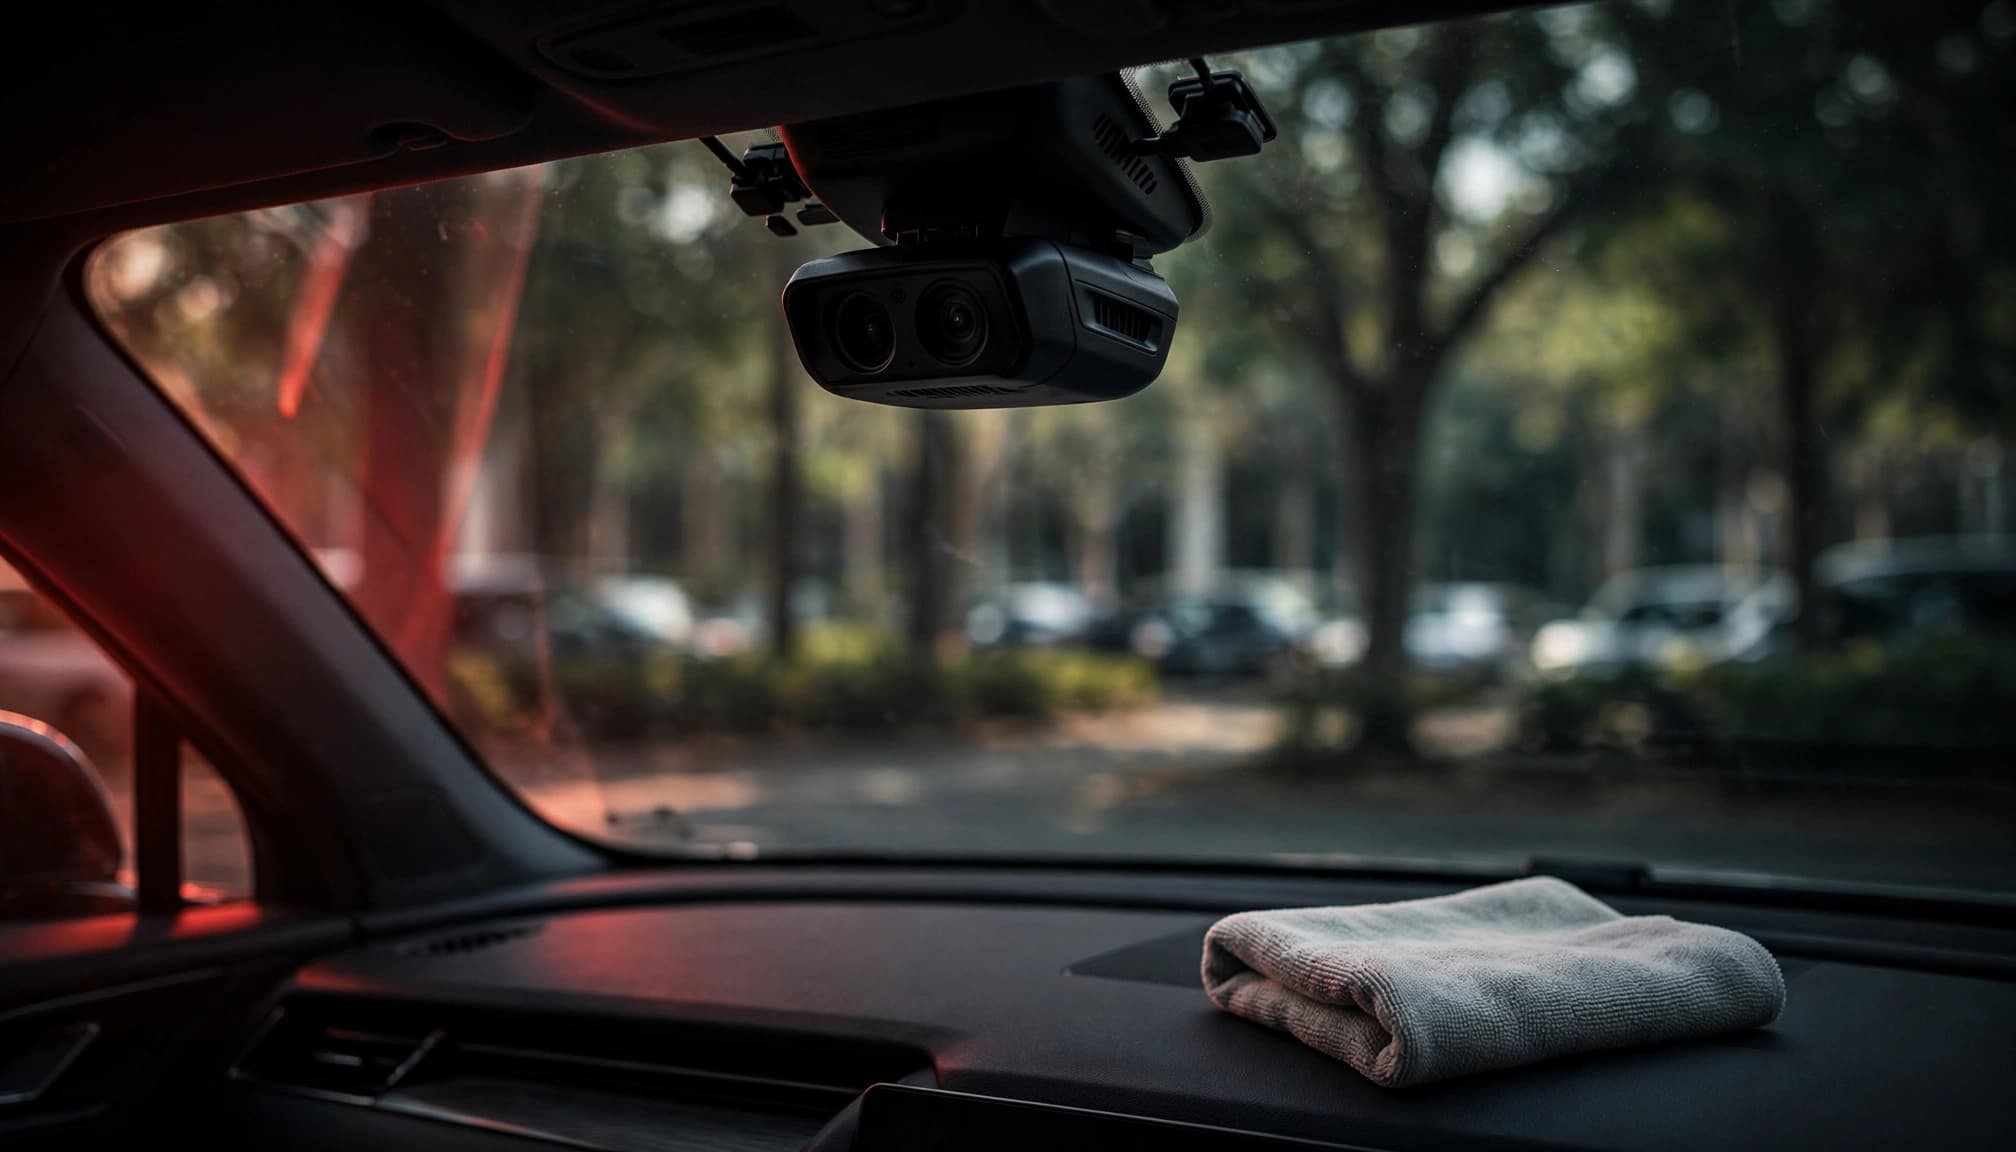
Windshield-mounted cameras need a clear view through the glass. Clean the outside windshield as you normally would, taking care around the camera area. If the camera looks like it has dirt or moisture behind the glass, don’t try to open or remove its housing.
Clean the glass, not the camera assembly
Use a clean microfiber cloth and a windshield product approved for your vehicle. Don’t spray liquid into the camera housing or push a cloth behind a cover. Avoid harsh chemicals and abrasive tools on the glass around the camera.
A Tesla Model 3 service manual describes a specific procedure for cleaning the inside windshield near its forward camera. It is a model-specific service instruction, not a general DIY method. See Tesla’s Model 3 forward-camera cleaning procedure and follow your own vehicle’s manual instead of copying steps intended for another model.
Check for films, fog, or interior residue
Greasy marks, condensation, tint, or an accessory near the camera can affect its view. Don’t place phone mounts, stickers, or other items in the camera’s field of view unless your vehicle manufacturer permits them.
If you see moisture inside the camera housing, leave it closed and arrange a professional check. Wiping the outside glass won’t remove moisture that has reached the inside of the assembly.
Check the Sensors Again Before Driving
After cleaning, look over the areas you wiped and make sure there’s no remaining dirt, loose cloth fiber, or cleaning residue. Check the windshield from outside and inside, especially around the camera’s viewing area. Give wet surfaces time to dry.
Start the vehicle and check the dashboard for ADAS alerts. The system may show a message if a camera or sensor is blocked, unavailable, or needs attention. Follow the alert and the owner’s manual. Don’t treat the absence of a warning as proof that every assistance feature is operating correctly.
A general ADAS sensor-care guide also advises against removing trim or adjusting sensors yourself. Keep the inspection to visible surfaces and leave internal repairs to a qualified technician.
When Cleaning Doesn’t Clear a Warning
Dirt is only one possible cause of an ADAS warning. A damaged cover, camera alignment issue, electrical fault, or obstruction inside a housing can also affect a system. Cleaning may help with a blocked surface, but it doesn’t guarantee that the feature will work properly afterward.
Arrange an inspection for persistent alerts
If a warning remains after the sensor is clean and dry, follow the vehicle’s instructions and arrange an inspection. Don’t rely on an affected driver-assistance feature while you wait. Drive only when it’s safe to do so, and use your normal attention and judgment at all times.
Contact an authorized dealer or qualified repair professional if a sensor appears damaged or moved. An inspection is also appropriate when alerts begin after a windshield replacement, body repair, or impact near a sensor.
Don’t attempt calibration or disassembly
Camera and radar units may need specialist checks after repair or damage. Don’t loosen a sensor, remove a cover, or try to reposition a camera. The correct inspection and calibration requirements depend on the vehicle and the work performed.
Frequently Asked Questions
Can I use glass cleaner on every ADAS camera?
No. Cleaning products vary by vehicle and component. Use water or only a product approved by your manufacturer for that surface. Some manuals warn against solvents and other chemicals on camera covers.
Can a car wash damage ADAS sensors?
Normal washing methods vary, but high-pressure water should not be directed at sensor covers or camera lenses. Check the manual and tell wash staff about sensor locations when needed. Don’t assume every wash program uses the same pressure or approach.
Should I drive if an ADAS warning stays on?
Follow the alert and your owner’s manual. If it remains after cleaning and drying, arrange an inspection. Don’t assume a warning will disappear on its own or that cleaning has restored the system.
Clean Carefully, Then Follow the Vehicle’s Alerts
Clean ADAS surfaces gently and use only methods approved for your vehicle. A soft microfiber cloth and water are suitable starting points when the manual allows them, while pressure, scraping, and harsh chemicals can create new problems.
Before a drive, check for visible dirt and read any dashboard message. If an alert stays on or a component looks damaged, arrange service rather than relying on a quick wipe.

Sammie O is the owner of Bud Car Wash, a 24 hour hand car wash and detailing shop at Shop #7, 44, 22nd Street, Ras Al Khor Industrial Area 2, Dubai. He writes the car care guides on this site based on work done in his own bay.
View All Articles