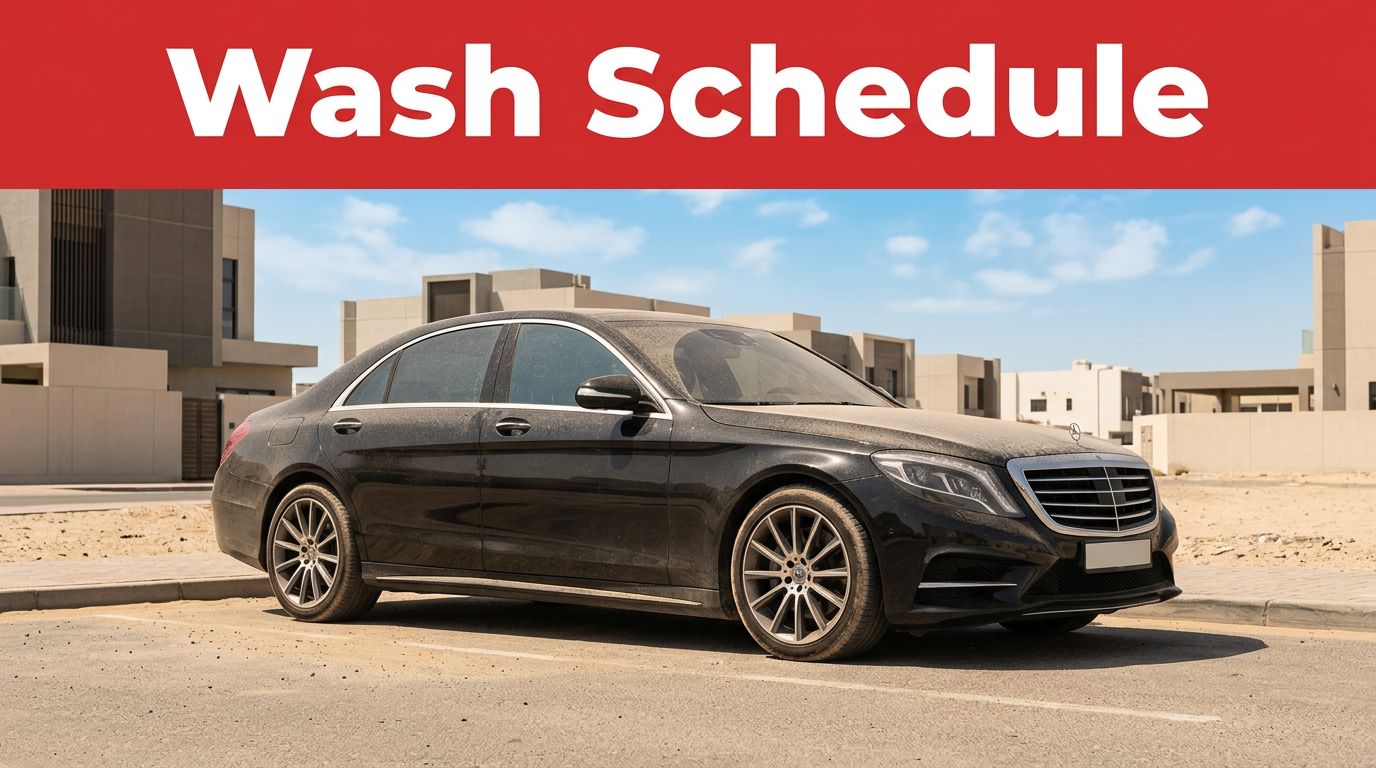
When you look at promotional photos of vehicles online, it is easy to expect magic. You see a dull, tired paint surface transform into a mirror-like reflection in a single afternoon. If you want to understand true car wax before after transformations, you need realistic expectations about what protection products can actually achieve. Wax is a fantastic tool for enhancing depth, enriching color, and shielding your clear coat, but it has distinct limitations.
Your vehicle battles road grime, UV rays, and microscopic fallout every day. When the protective layer wears thin, the finish starts to look flat, tired, and uninspired. Knowing what to expect before you start detailing helps you plan your weekend project and achieve results you can actually be proud of.
Key Takeaways
- Proper paint preparation, including a thorough wash and clay bar treatment, determines the final gloss level more than the wax itself.
- Traditional car wax before and after differences highlight enhanced color depth, wet-look shine, and superior water beading rather than paint correction.
- Premium car wax does not fill deep scratches, eliminate heavy oxidation, or reverse etched water spots without prior compounding.
- Consistent application every three months maintains your finish and prevents environmental contaminants from bonding to the clear coat.
Setting Realistic Expectations for Your Finish
Before you open a tin of car paste or squeeze a bottle of liquid protectant, take a close look at your paint under direct sunlight. If your vehicle has deep scratches, heavy swirl marks, or stubborn oxidation, a simple coat of wax won’t make those flaws vanish. Wax adds a sacrificial layer over your clear coat, but it doesn’t level out damaged paint.
Think of wax as the final topcoat on a freshly painted canvas rather than the brush that fixes mistakes. When you examine a typical car wax before after comparison, you are seeing the result of thorough cleaning and gloss enhancement. The product deepens the hue of your paint and fills microscopic pores in the surface. This creates that iconic reflective glow that makes clean cars stand out in traffic.

Photo by Khunkorn Laowisit
The Paint Preparation Phase
Skipping the prep work is the number one reason DIY details fall short of expectations. If you apply protectant over microscopic dirt and bonded fallout, you simply seal those contaminants onto your vehicle. Start with a thorough two-bucket wash using a pH-balanced shampoo to strip away old residue and loose debris.
Next, run your clean fingertips lightly across the hood and doors. If the surface feels like fine sandpaper, you need a clay bar treatment to pull out embedded pollutants. This step is essential because a smooth surface allows the protectant to bond evenly. Without this foundation, your car wax before after results will look patchy and dull instead of uniform and wet.
A clean, decontaminated surface is the non-negotiable secret behind deep paint reflection and long-lasting protection.
Applying Your Protection Safely
Once your paint is clean, dry, and cool to the touch, you can begin the application process. Work in a shaded area out of direct sunlight so the product doesn’t dry too quickly and become difficult to buff off. Squeeze a small amount of paste or liquid onto a soft foam applicator pad.
Apply the product in thin, overlapping circular or crosshatch motions across one panel at a time. More product doesn’t mean better protection, and laying it on too thick only wastes material and creates annoying streaks during removal. Let the product cure until it passes the swipe test, which means running a clean finger across the haze leaves a clear, smudge-free trail.
| Step | Action Required | Key Objective |
| :--- | :--- | :--- |
| 1 | Two-Bucket Wash | Remove loose dirt and road film |
| 2 | Clay Bar Treatment | Extract embedded microscopic fallout |
| 3 | Thin Application | Apply even layer without waste |
| 4 | Microfiber Buffing | Reveal deep gloss and slick finish |
Buffing off the cured residue is where the real visual transformation happens. Use a clean, plush microfiber towel, folding it into quarters to present a fresh side frequently. Gently wipe away the haze with light pressure until the paint beneath reveals a deep, mirror-like gloss.
Comparing Liquid Paste and Spray Options
Choosing the right product formulation depends on your available time and durability goals. Natural carnauba formulations offer incredible warmth and deep liquid reflection, but they usually wear off after two to three months. Synthetic sealants and hybrid formulas provide longer-lasting defense against harsh weather and UV exposure, often lasting up to six months.
Spray protectants offer the fastest application method, making them ideal for quick maintenance washes between major detailing sessions. While sprays don’t last as long as traditional paste waxes, they deliver an impressive shine with minimal physical effort. Match your choice to your maintenance routine so your vehicle stays protected year-round.
Conclusion
Achieving a striking car wax before after transformation relies entirely on proper preparation and patient execution. By setting realistic expectations and respecting the limitations of surface protection, you can transform a tired daily driver into a head-turning machine. Take your time during the wash and clay stages, apply thin layers of product, and enjoy the rich, glossy results of your hard work.