A car detailing checklist keeps a thorough clean from becoming a rushed wash. It helps you clean each surface in the right order, use suitable products, and protect the finish without creating new marks.
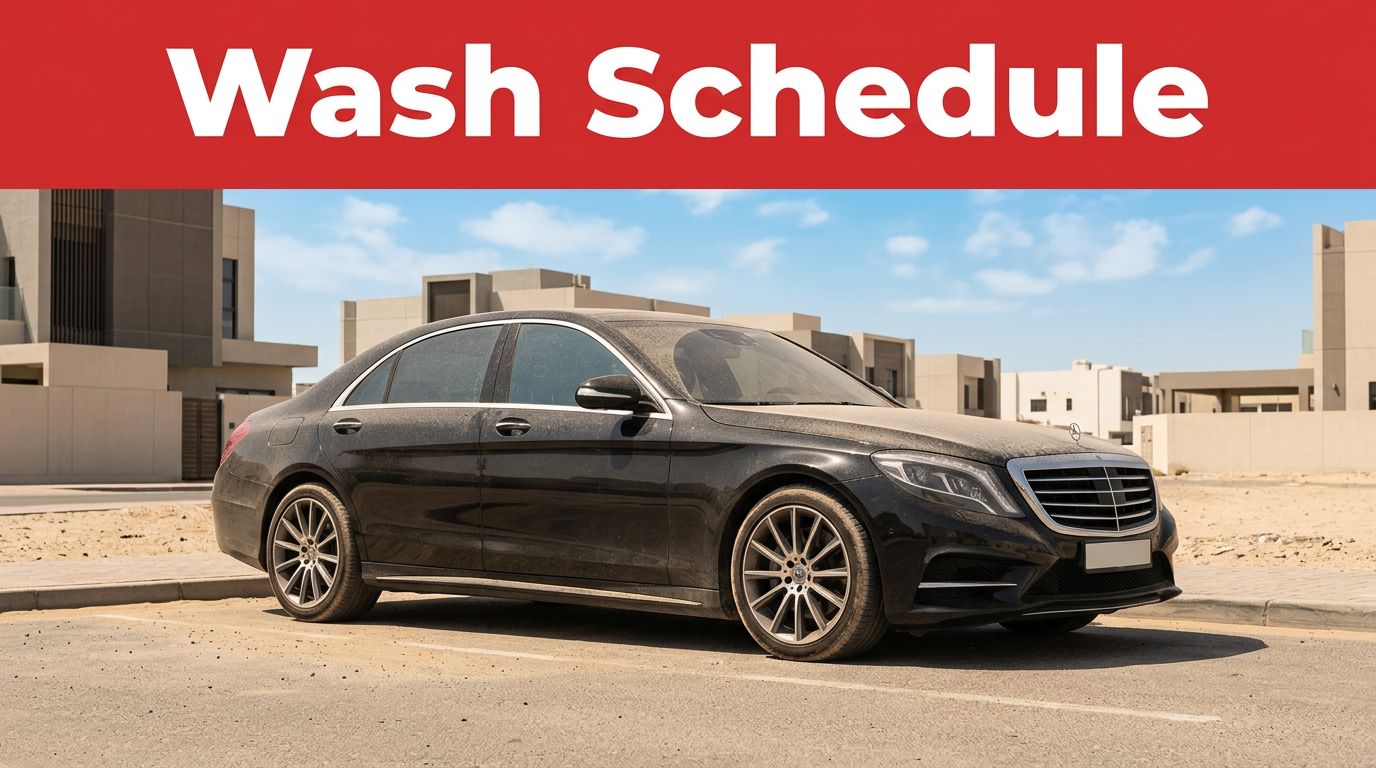
Dust, road film, sand, food spills, and fingerprints build up quickly, especially in Dubai’s heat. Use this guide for a complete DIY detail, or take it to a professional car wash when your vehicle needs deeper cleaning and careful finishing.
Key Takeaways
- Work in shade on cool surfaces, and never allow soap or chemicals to dry.
- Clean wheels and tires with separate tools and towels from those used on paint.
- Wash the exterior from top to bottom, then dry it before applying protection.
- Clean the interior in stages, starting with loose debris and ending with glass.
- Inspect the finished car in good light before storing your products.
Build Your Car Detailing Checklist Before You Start
Preparation makes the process cleaner and safer. Park on a firm surface with enough room to open every door and reach all sides of the car. Early morning or late afternoon is usually more comfortable in Dubai, but the main requirement is shade and a cool vehicle.
Avoid detailing a hot bonnet, roof, or glass panel. Heat causes shampoo, glass cleaner, and protective products to dry too quickly. That can leave streaks, water spots, or uneven residue.
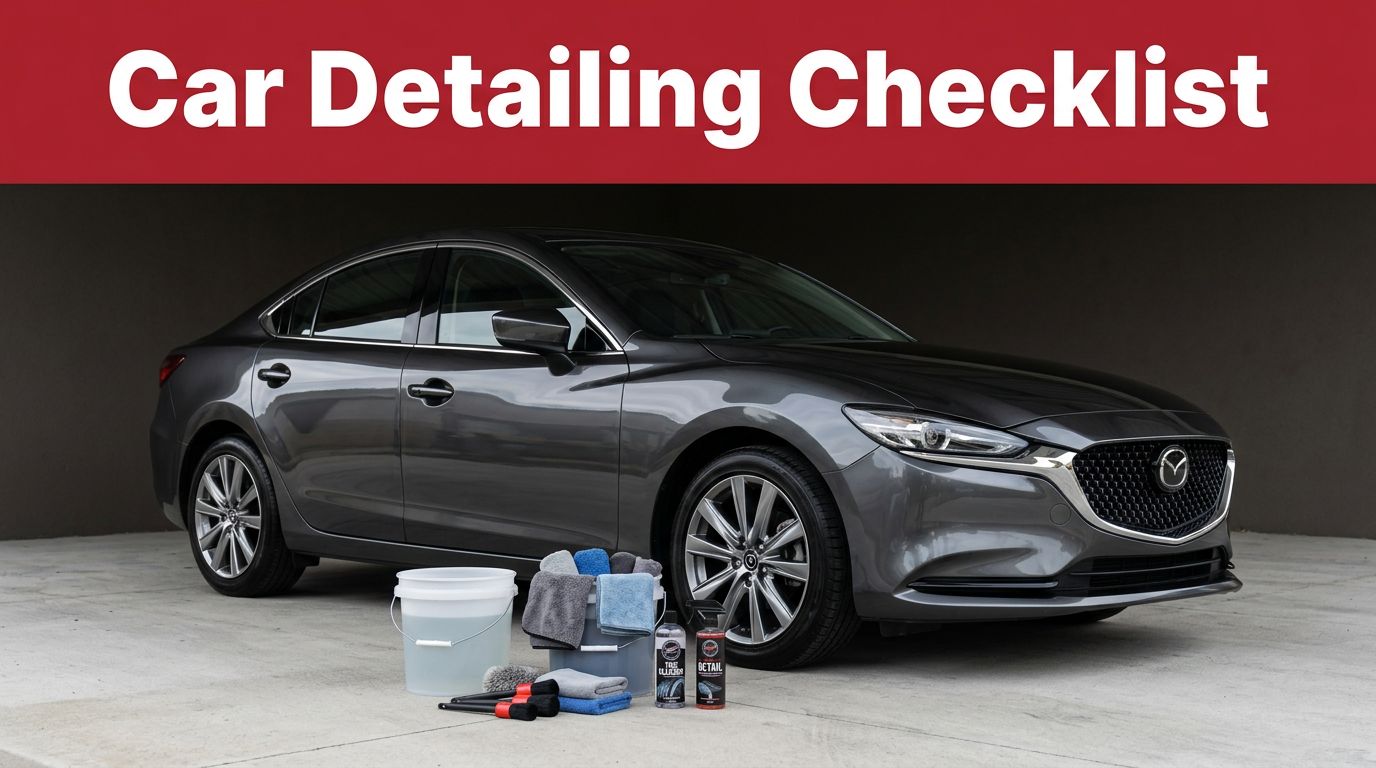
Gather products by category rather than choosing one product for every surface. You need a pH-neutral car shampoo for paint, a wheel cleaner suitable for your wheel finish, a dedicated glass cleaner, an interior cleaner, and a protectant for plastic or leather. Follow each product label for dilution and surface use.

Before washing, check that you have:
- Two buckets, ideally with grit guards.
- A microfiber wash mitt for painted panels.
- Soft brushes for vents, badges, seams, and trim.
- Separate wheel brushes and wheel towels.
- Several clean microfiber drying towels.
- A vacuum with narrow and brush attachments.
- Interior cleaner, upholstery cleaner, and leather cleaner where suitable.
- Glass cleaner and a lint-free glass towel.
- Wax, sealant, or another paint protection product.
- Nitrile gloves and eye protection for stronger cleaners.
Keep towels separated by job. A towel used on tires can hold grit and rubber residue, so it should never touch the paint or interior. Washing dirty towels separately also reduces the chance of transferring contamination during your next detail.
Exterior Car Detailing Checklist
The exterior should be cleaned in a controlled order. Start with the dirtiest areas, then move to the paint and glass. A useful car detailing checklist for exterior care follows the same general progression, including washing, contamination removal, polishing, and protection.
Begin with the wheels and tires while they are cool.
- Rinse the wheels, tires, and wheel arches to remove loose sand and brake dust.
- Apply a wheel cleaner made for the wheel’s finish.
- Agitate the face, spokes, tire sidewall, and inner rim with separate brushes.
- Rinse thoroughly before the cleaner dries.
- Dry the wheels with dedicated towels.
Do not use the same bucket or mitt for wheels and paint. Wheel grime can contain sharp particles that scratch clear coat. Strong wheel cleaners also need careful handling, so wear gloves and avoid spraying them on hot surfaces.
Rinse the vehicle from top to bottom. This removes loose dust before your wash mitt touches the paint. Use a clean bucket of shampoo solution and another bucket for rinsing the mitt. Clean one panel at a time, starting with the roof and glass, then moving down to the bonnet, doors, rear panel, and lower sections.
- Wash in straight, light passes instead of circular scrubbing.
- Rinse the mitt often.
- Use a separate mitt for lower panels if they carry heavy road dirt.
- Rinse the whole car before drying.
- Dry with a clean microfiber towel or a filtered air blower.
For stuck bugs, tar, tree sap, or industrial fallout, use a product designed for that contamination. Do not scrape the paint with a blade or household tool. A clay bar can remove bonded particles after washing, but it must be used with proper lubricant. If the paint feels rough after cleaning, clay treatment may help restore a smooth surface.
Polishing is different from waxing. Polish can reduce the appearance of light defects, while wax or sealant adds a protective layer. Work on a small area first, use light pressure, and remove residue with a clean towel. If the paint has deep scratches, heavy oxidation, or uneven color, paint correction is better handled by a trained detailer.
Finish the exterior with:
- Clean glass inside and outside with a dedicated glass towel.
- Wipe door jambs and the area around the fuel door.
- Dress tires with a water-based product if a natural finish is preferred.
- Check mirrors, badges, trim, and license plate areas.
- Remove remaining streaks before the car leaves the shade.
A professional detailing guide also places wheel cleaning and pre-cleaning early in the process. This order limits the amount of dirt moved across painted surfaces.
Interior Car Detailing Checklist
Interior detailing starts with removal, not product application. Take out floor mats, child seats, rubbish, bottles, and personal items. Open the doors in a safe location and allow loose dust to leave the cabin before you begin.
- Remove mats and shake out loose sand outdoors.
- Vacuum seats, carpets, floor edges, and under the seats.
- Use a narrow attachment around seat rails and console gaps.
- Brush dust from air vents, switches, seams, and storage areas.
- Check the boot and spare-wheel compartment.
Dubai’s dust and fine sand can settle in places that a quick vacuum misses. Move the front seats forward and backward where possible. Use a soft detailing brush around buttons, stitching, and dashboard vents, then vacuum the loosened debris.
Clean surfaces from the top down. Start with the dashboard and upper door panels, then clean the center console, lower panels, seats, and carpets. Spray cleaner onto a towel or brush instead of flooding electronic controls. Always test an interior product on a hidden area first.
Use the correct cleaner for each material:
- Use an interior cleaner for hard plastic and vinyl.
- Use a fabric or upholstery cleaner for cloth seats and carpets.
- Use a leather cleaner and suitable conditioner for genuine leather.
- Use a soft brush for textured plastic and stitched surfaces.
- Wipe residue away with a separate, clean microfiber towel.
Do not soak seat seams, headliners, speaker grilles, or electronic controls. Excess moisture can create odors or damage hidden components. A low-sheen interior protectant is usually more comfortable than a greasy finish, especially on the dashboard where glare can affect visibility.
Clean the windows last. Interior glass often collects cleaner mist while you work on the dashboard and doors. Use a small amount of product and turn the towel to a dry side for the final pass. The step-by-step interior detailing guide also recommends vacuuming large debris before cleaning hard surfaces.
Before closing the doors, check:
- No loose sand remains in carpet edges or seat tracks.
- Mats are fully dry before returning to the car.
- Seats and trim have no cleaner residue.
- Glass is clear without haze or streaks.
- The cabin has been ventilated after wet cleaning.
Protect and Maintain the Finished Detail
Protection works best on clean, dry surfaces. Apply wax or sealant according to the product instructions, using thin, even sections. Allow the product to cure for the stated time, then buff gently with a clean towel. Avoid applying protection to glass, pedals, steering-wheel grips, or brake components unless the product is designed for that surface.
Add these final checks to your car detailing checklist:
- Inspect the paint under direct, even light.
- Check for water spots around mirrors, badges, and panel gaps.
- Confirm that all exterior residue has been removed.
- Check tire dressing for sling on nearby paint.
- Remove tools, towels, and bottles from the cabin.
- Leave doors and windows open briefly if interior products were used.
A full detail doesn’t need to happen every week. A regular wash can remove loose dust and road film, while a deeper interior and exterior detail can be scheduled when the car needs more attention. Clean spills quickly, vacuum sand before it works into the carpet, and wipe sunscreen or oily marks from interior trim before they become difficult to remove.
Professional detailing is a practical choice when the vehicle has heavy stains, embedded sand, pet hair, smoke odor, paint contamination, or neglected wheels. It is also useful when you want polishing and paint protection without risking damage through incorrect products or tools. A dependable detailing team can match the service to the car’s condition instead of treating every vehicle the same way.
Conclusion
A good car detailing checklist keeps the work organised, protects sensitive surfaces, and helps you achieve a cleaner result with fewer mistakes. Use separate tools for wheels and paint, work on cool surfaces, and give each product enough time to work without drying.
The strongest results come from consistent care rather than rushed cleaning. With the right preparation, safe products, and a clear order, your vehicle can stay fresh, protected, and ready for the road.