A clean car is easier to enjoy, easier to maintain, and more comfortable to drive. The right car cleaning checklist helps you cover the areas that are often missed, from dusty air vents to water spots on the paint.
You don’t need expensive equipment for every clean. With the correct order, gentle products, and a little consistency, you can keep your vehicle looking fresh between professional washes. Start with the basic routine below, then use the deep-cleaning tasks when your car needs extra care.
Key Takeaways
- Clean the wheels and exterior from top to bottom to avoid spreading dirt.
- Use separate microfiber towels for glass, paint, wheels, and the interior.
- Vacuum before wiping surfaces, especially around seats and floor mats.
- Dry the car immediately to reduce water spots and streaks.
- Schedule deep cleaning for stains, odors, leather care, and neglected areas.
Car Cleaning Checklist: Prepare Before You Start
Choose a shaded, well-ventilated area before cleaning your vehicle. Direct sunlight can dry soap and water too quickly, leaving marks on the paint and glass. A cool surface gives you more time to rinse and dry each area properly.
Keep your supplies within reach, but don’t use one cloth for every task. Dirt collected from the wheels can scratch painted surfaces. A simple colour system helps. Use one group of microfiber towels for the body, another for the wheels, and a clean towel for glass.
You will usually need:
- Two buckets, one for car shampoo and one for rinsing
- A pH-balanced car shampoo
- A soft wash mitt
- Wheel cleaner and a dedicated wheel brush
- Several clean microfiber towels
- A drying towel or soft chamois
- A vacuum cleaner with narrow attachments
- Interior cleaner suitable for your dashboard and trim
- Glass cleaner without ammonia
- A soft detailing brush for vents and seams
Remove personal items, rubbish, bottles, and floor mats before washing. Check the mats for sand and loose dirt, especially if the car is used regularly in dusty conditions. Close the windows and sunroof fully before applying water.
Work in sections instead of soaking the entire vehicle at once. Clean one area, rinse it, and move on. This keeps soap from drying on the surface and makes the task easier to control.
Never use household dishwashing liquid as a regular car shampoo. It can remove protective products from the paint and leave the finish looking dull.
Before applying any product, read its label and test it on a hidden area. Leather, fabric, plastic, vinyl, and painted trim can each react differently to cleaners. The correct product protects the finish while removing dirt.
Exterior Car Cleaning Checklist for a Clean Finish
Exterior cleaning should begin with the dirtiest areas and finish with the cleanest ones. Wheels, tyres, and lower panels collect brake dust and road grime, so wash them before the main body.
Follow this order for a routine exterior wash:
- Rinse the wheels, tyres, and lower panels to loosen sand and grime.
- Apply the recommended wheel cleaner and allow it to work for the stated time.
- Agitate the wheels with a soft brush, then rinse thoroughly.
- Wash the tyres and apply tyre dressing only after the surface is dry.
- Rinse the whole car from top to bottom.
- Use a wash mitt and car shampoo on the roof, glass, bonnet, doors, and lower panels.
- Rinse the mitt often in the clean-water bucket.
- Rinse the vehicle again, paying attention to mirrors, badges, door handles, and panel gaps.
- Dry the paint with a clean microfiber drying towel.
- Clean the windows and mirrors last.
Use straight, gentle passes rather than pressing hard against the paint. Circular rubbing can spread fine dirt across a larger area. If the mitt touches the ground, replace it or rinse it thoroughly before continuing.
Water spots often appear when minerals remain on the surface after water evaporates. Dry the car immediately after rinsing, especially on warm days. A light spray of a suitable drying aid can help the towel move smoothly, but follow the product instructions.
Streaks on glass are usually caused by too much product, a dirty cloth, or cleaning glass in direct sunlight. Spray the cleaner onto the towel instead of flooding the window. Wipe one side of the glass vertically and the other side horizontally. If a streak remains, you can identify which side needs another pass.
Check the door jambs, boot opening, fuel door, and the area beneath the boot lid. These sections are easy to miss during a quick wash. Wipe them with a damp microfiber cloth and dry them before closing the doors.
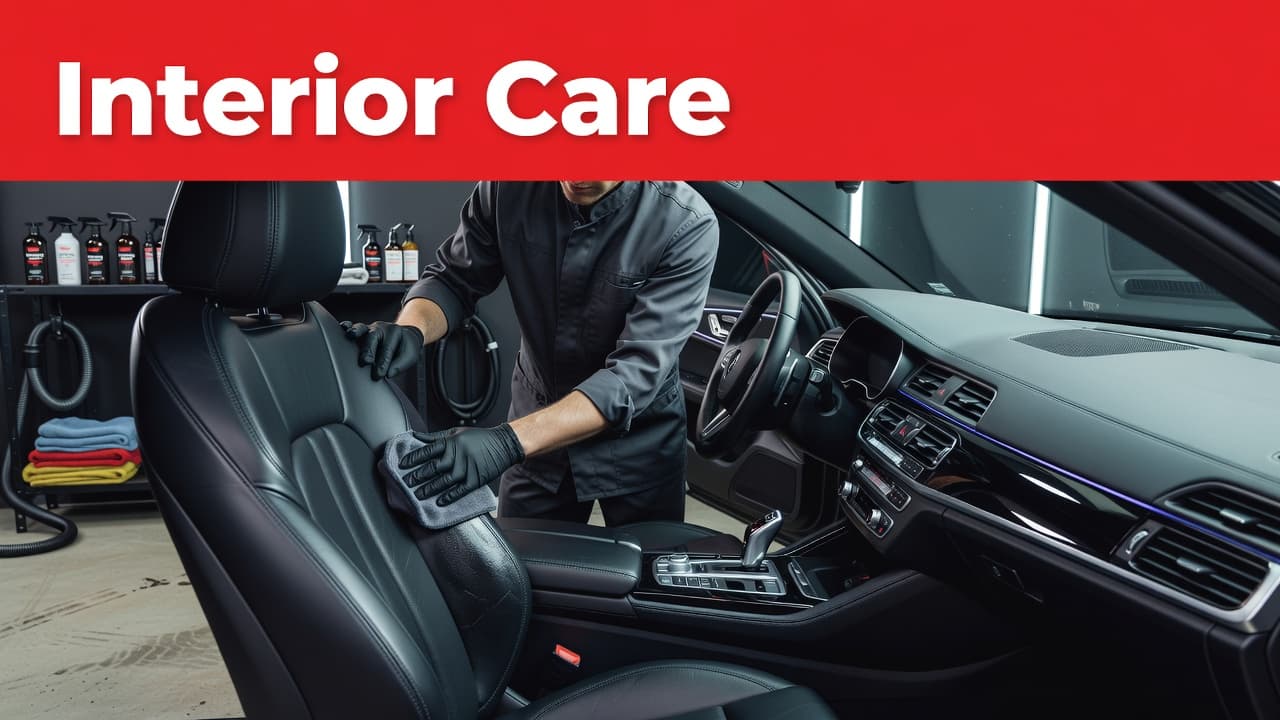
Interior Car Cleaning Checklist for Comfort and Care
Clean the interior in the right order. Remove rubbish first, vacuum loose dirt second, and wipe surfaces after that. If you wipe before vacuuming, dust and sand can settle back onto clean panels.
Take out the floor mats and shake them away from the vehicle. Vacuum the carpets, seats, gaps between cushions, under the front seats, and the boot floor. Use a narrow attachment around seat rails and a soft brush around vents.
Follow these interior cleaning steps:
- Vacuum the dashboard, centre console, door pockets, and storage compartments.
- Brush dust from air vents and collect it with a vacuum.
- Wipe the dashboard and plastic trim with a lightly damp microfiber cloth.
- Clean the steering wheel, gear selector, door handles, and frequently touched controls.
- Treat fabric seats with a suitable upholstery cleaner.
- Wipe leather seats with a leather-safe cleaner, then apply a compatible conditioner.
- Clean the inside of the windows with a separate glass towel.
- Wash rubber mats, rinse them well, and dry them fully before putting them back.
Don’t soak the dashboard, buttons, speaker grilles, or seat controls. Excess moisture can enter gaps and cause interior damage. Apply cleaner to the cloth rather than spraying directly onto electronic controls.
Leather needs controlled cleaning. Strong household products can dry the surface, remove its finish, or leave it slippery. Use a small amount of leather cleaner, work in sections, and remove residue with a clean cloth. Keep the product away from perforations unless the label confirms it is suitable.
Fabric seats need patience. Blot spills instead of scrubbing them deeper into the material. Use a damp cloth for small marks and allow the area to dry with the doors open in a shaded place. Do not leave damp mats or upholstery inside a closed car, because trapped moisture can create an unpleasant smell.
Glass cleaning also needs care. Clean the interior side after the dashboard has been wiped, not before. Use a dry side of the towel for the final pass. This removes leftover moisture and reduces cloudy marks.
Sun protection helps maintain the interior between cleaning sessions. Park in shade where possible, use a windshield sunshade, and avoid leaving wet items on seats or carpets. Regular care helps reduce fading, drying, and odour buildup.
Routine Cleaning and Occasional Deep Cleaning
A routine clean keeps dirt under control. A deep clean deals with areas that need more time, stronger equipment, or specialist products. Keeping these tasks separate makes your car cleaning checklist easier to follow.
For routine maintenance, clean the exterior every one to two weeks when conditions require it. Vacuum the interior weekly if you carry children, pets, sports equipment, or sandy items. Wipe high-contact surfaces during each interior clean.
Deep-cleaning tasks can include:
- Shampooing fabric seats and carpets
- Removing stains from floor mats and upholstery
- Cleaning under seats and inside storage compartments
- Detailing air vents, seat rails, and door hinges
- Treating leather seats with cleaner and conditioner
- Removing tree sap, road film, or bonded dirt from exterior paint
- Cleaning the engine bay only with suitable products and safe methods
- Applying wax or a paint sealant after the surface has been washed and dried
Clay bars, tar removers, and polish can improve the paint, but they need careful use. A clay bar should be used with proper lubrication. Polish removes a small amount of clear coat, so it shouldn’t become part of every weekly wash.
Wax protects the finish for a period of time, but it doesn’t replace cleaning. Apply it only to clean, dry paint. Avoid plastic trim unless the product is designed for it, because some waxes leave pale residue on textured surfaces.
Professional interior detailing is useful when stains, odours, heavy dust, or neglected areas cannot be handled with a quick home clean. A detailing team can use extraction equipment and specialised products while reducing the risk of damaging sensitive materials.
A deep clean should restore the surfaces without leaving them wet, greasy, or heavily fragranced. Clean, dry, and natural-looking is the better result.
Common Mistakes That Leave Marks or Cause Damage
Cleaning mistakes often create the problems you are trying to remove. Using a dirty towel can drag grit across the paint. Washing under direct sun can leave dried shampoo and mineral spots. Applying too much interior product can create a greasy layer that attracts more dust.
Avoid cleaning the body with an old household sponge. Its flat surface can hold grit against the paint. A soft wash mitt releases dirt more safely when rinsed often.
Don’t use the same towel for wheels and paint. Brake dust can contain abrasive particles. Keep wheel tools separate and wash them away from your paint towels.
Avoid household glass products that contain ammonia on tinted windows, unless the manufacturer confirms they are suitable. Use a cleaner made for automotive glass and apply a small amount.
Don’t put floor mats back while they are damp. Dry them completely before installation. Check beneath the mats as well, because moisture trapped underneath can affect the carpet and create odours.
Cleaning products should also be used sparingly. More foam doesn’t always mean better cleaning. Excess cleaner leaves residue, increases wiping time, and can make plastic or leather look uneven.
Finally, never wipe dry dust from glossy paint with a dry cloth. Rinse the surface first. Even a light layer of sand can create fine scratches when rubbed across the panel.
A Simple Weekly Car Cleaning Checklist
Set aside a regular time for a short maintenance clean. The process takes less time when dirt and spills are handled before they become stubborn.
Use this weekly car cleaning checklist:
- Remove rubbish and personal items.
- Empty the door pockets and centre console.
- Vacuum the seats, carpets, boot, and floor mats.
- Wipe the dashboard, steering wheel, handles, and controls.
- Clean the inside of the windows.
- Check for spills, stains, and unusual odours.
- Rinse visible dust from the exterior when needed.
- Check the tyres and remove dirt from the wheel area.
- Dry any damp interior surface before closing the car.
Every month, inspect the door jambs, boot seals, seat rails, and spaces beneath the mats. Add exterior protection when the paint no longer feels smooth or water no longer beads as expected. The correct timing depends on the product used, driving conditions, and how the car is stored.
For Dubai drivers, frequent dust can make a clean vehicle look dirty quickly. A gentle rinse and proper wash are safer than repeated dry wiping. Professional car wash and detailing services are also useful when your vehicle needs a more thorough refresh or paint protection.
Conclusion
A practical car cleaning checklist keeps each task clear, protects the materials inside your vehicle, and helps prevent streaks and water spots outside. Wash from top to bottom, use separate tools, dry promptly, and keep moisture away from electronics and upholstery.
Routine cleaning handles daily dust and surface dirt. Occasional deep cleaning restores carpets, leather, vents, and hard-to-reach areas. With consistent care, your car stays fresher, cleaner, and more comfortable between professional detailing visits.